Issues like..."I can make that."..."I can make that for less."..."I can paint that."..."I can make that cuter." Does this sound like you? Do you like customizing your own home decor?

This shower curtain, made for Missy and her daughter Claire, is a prime example where custom can be so much cuter! Though, not always less expensive. Shower curtains require a lot of fabric.
I'm going to share with you how, with very simple sewing skills, you can make your own shower curtain. (Fabric measurements and details listed at end of post.)
The average tub length is 5'. I generally make the shower curtain 1.5 (fullness) x 60" = 90"/finished width. This gives the curtain plenty of fullness when closed yet not too much bulk for a small space.
The length depends on where you choose to mount your rod and how far you'd like the curtain to hang above the floor.
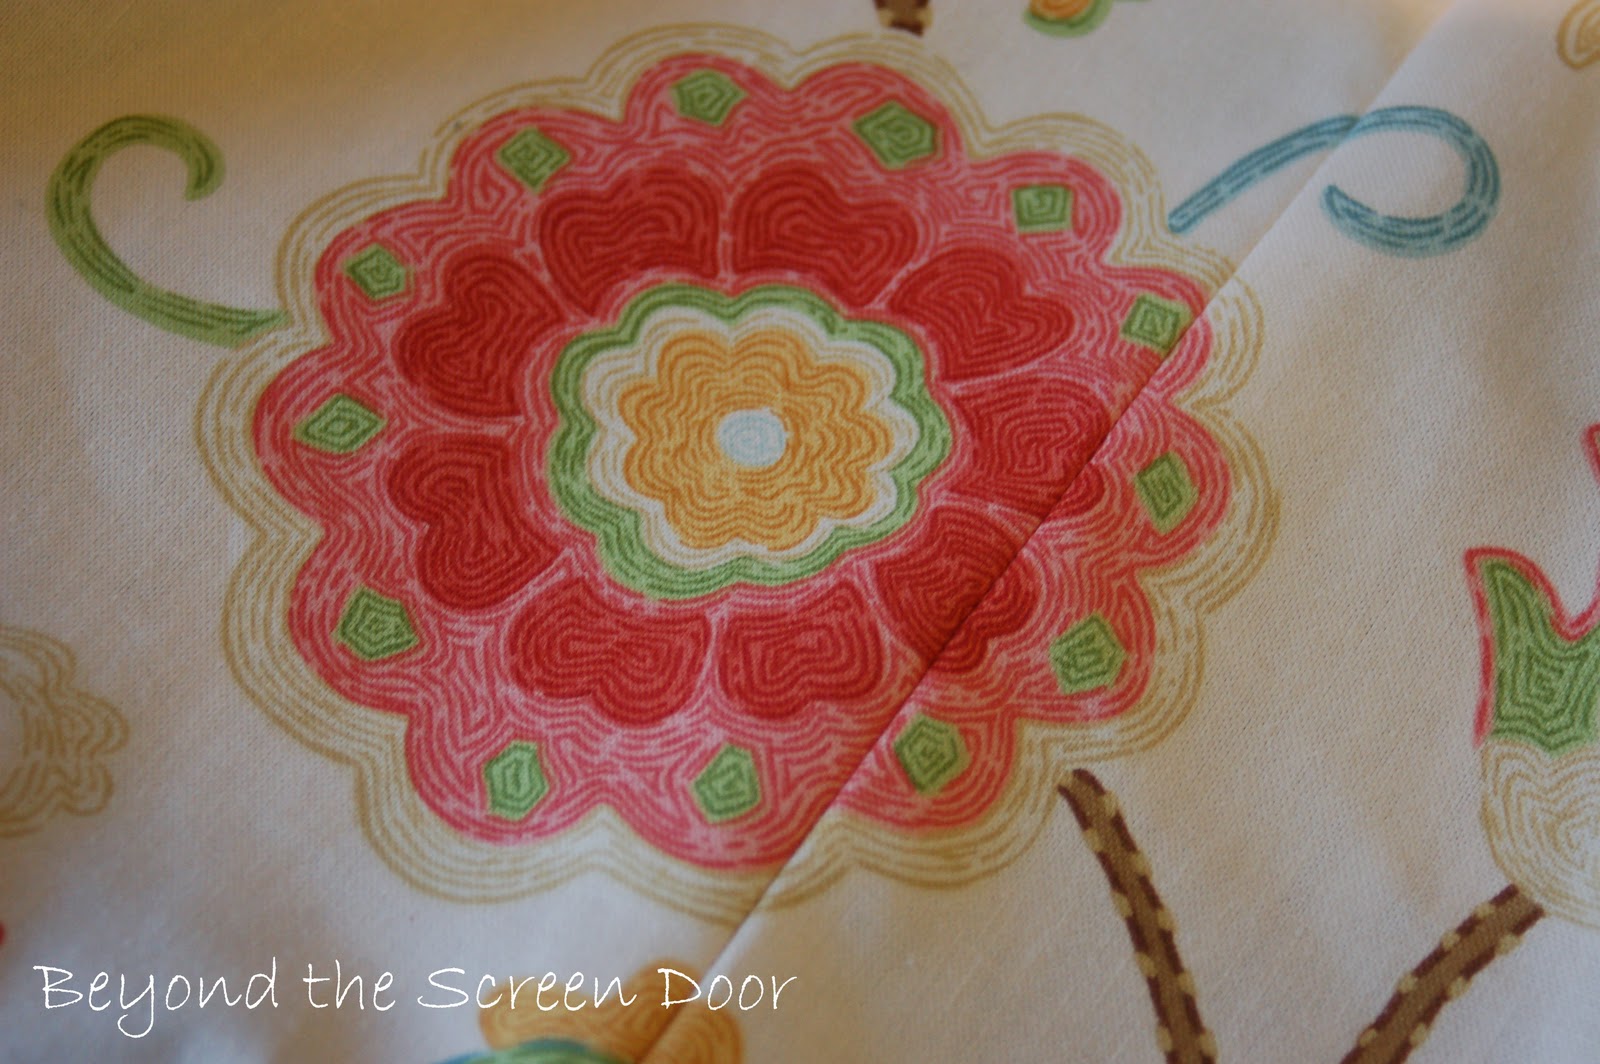
This fabric is 54" wide. Cutting 2 widths, I sewed the lengths together matching up the pattern.
Since we chose to leave this shower curtain unlined, I wanted the seam allowance to have a finished look on the back side. (Normally you would cut off the selvage edges but I needed to keep them in place to match up the pattern. If you don't have a pattern to match, a french seam would be an alternative. French seam? A lesson for another day!)

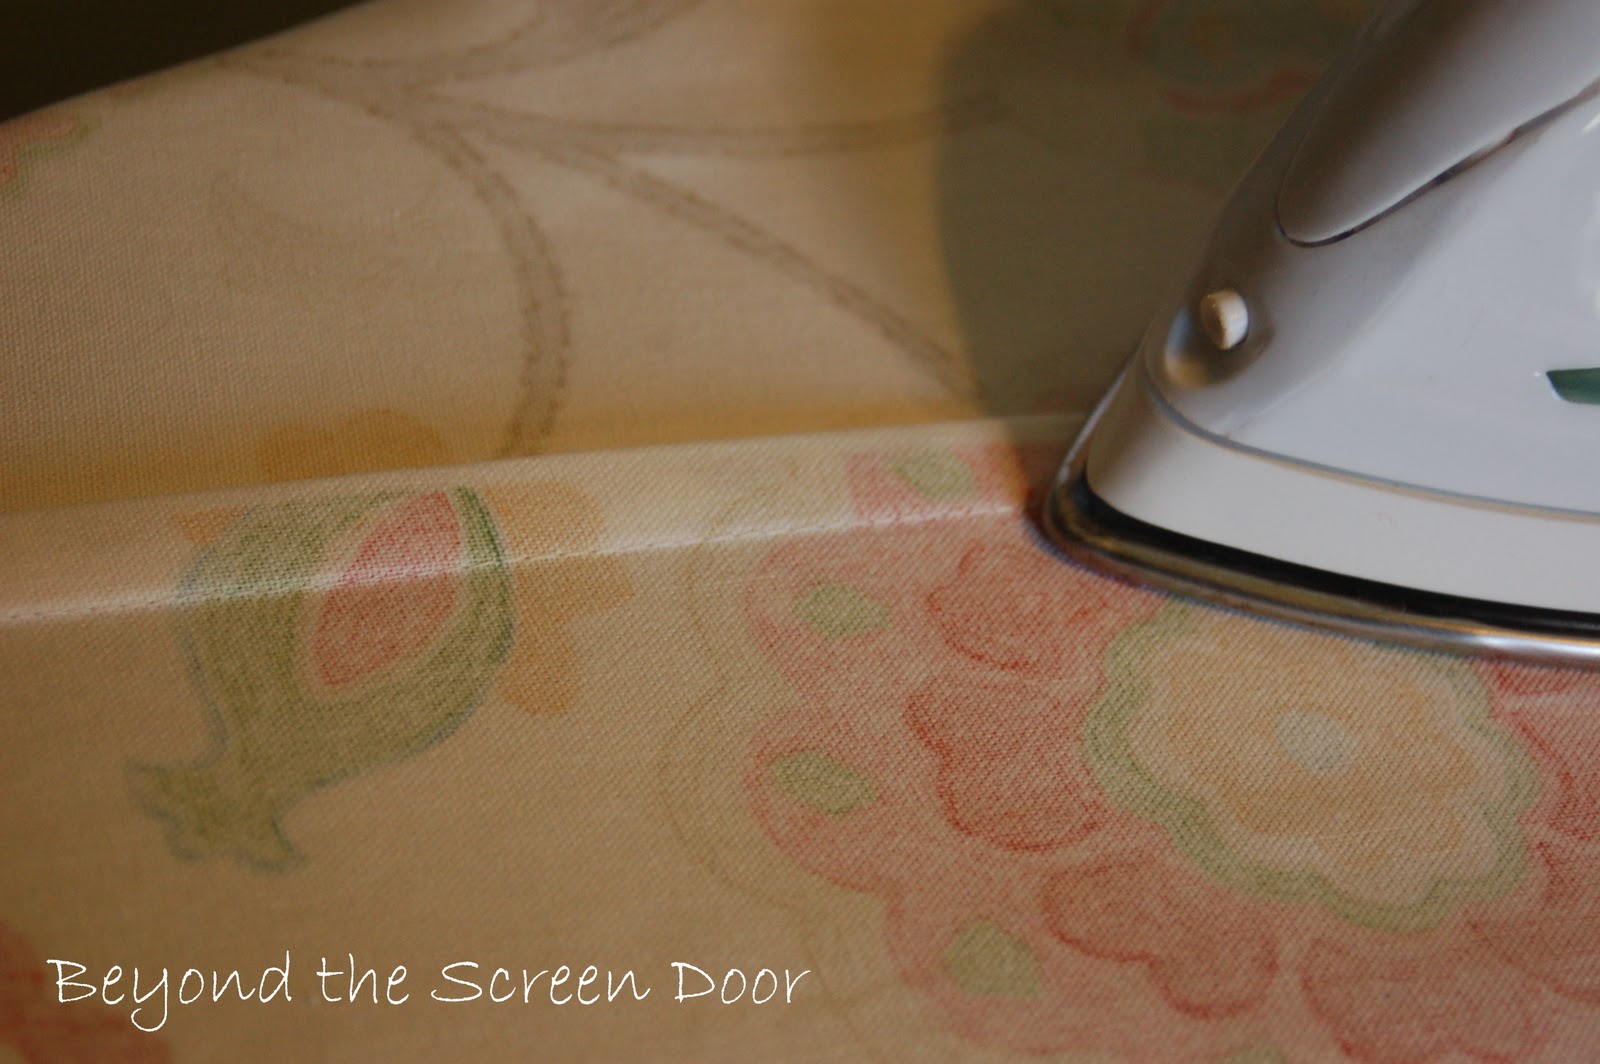
I trimmed one side of the seam allowance down to approximately 3/8". The opposite side was then folded in half, ironed flat, enclosing the 3/8" side within the fold.
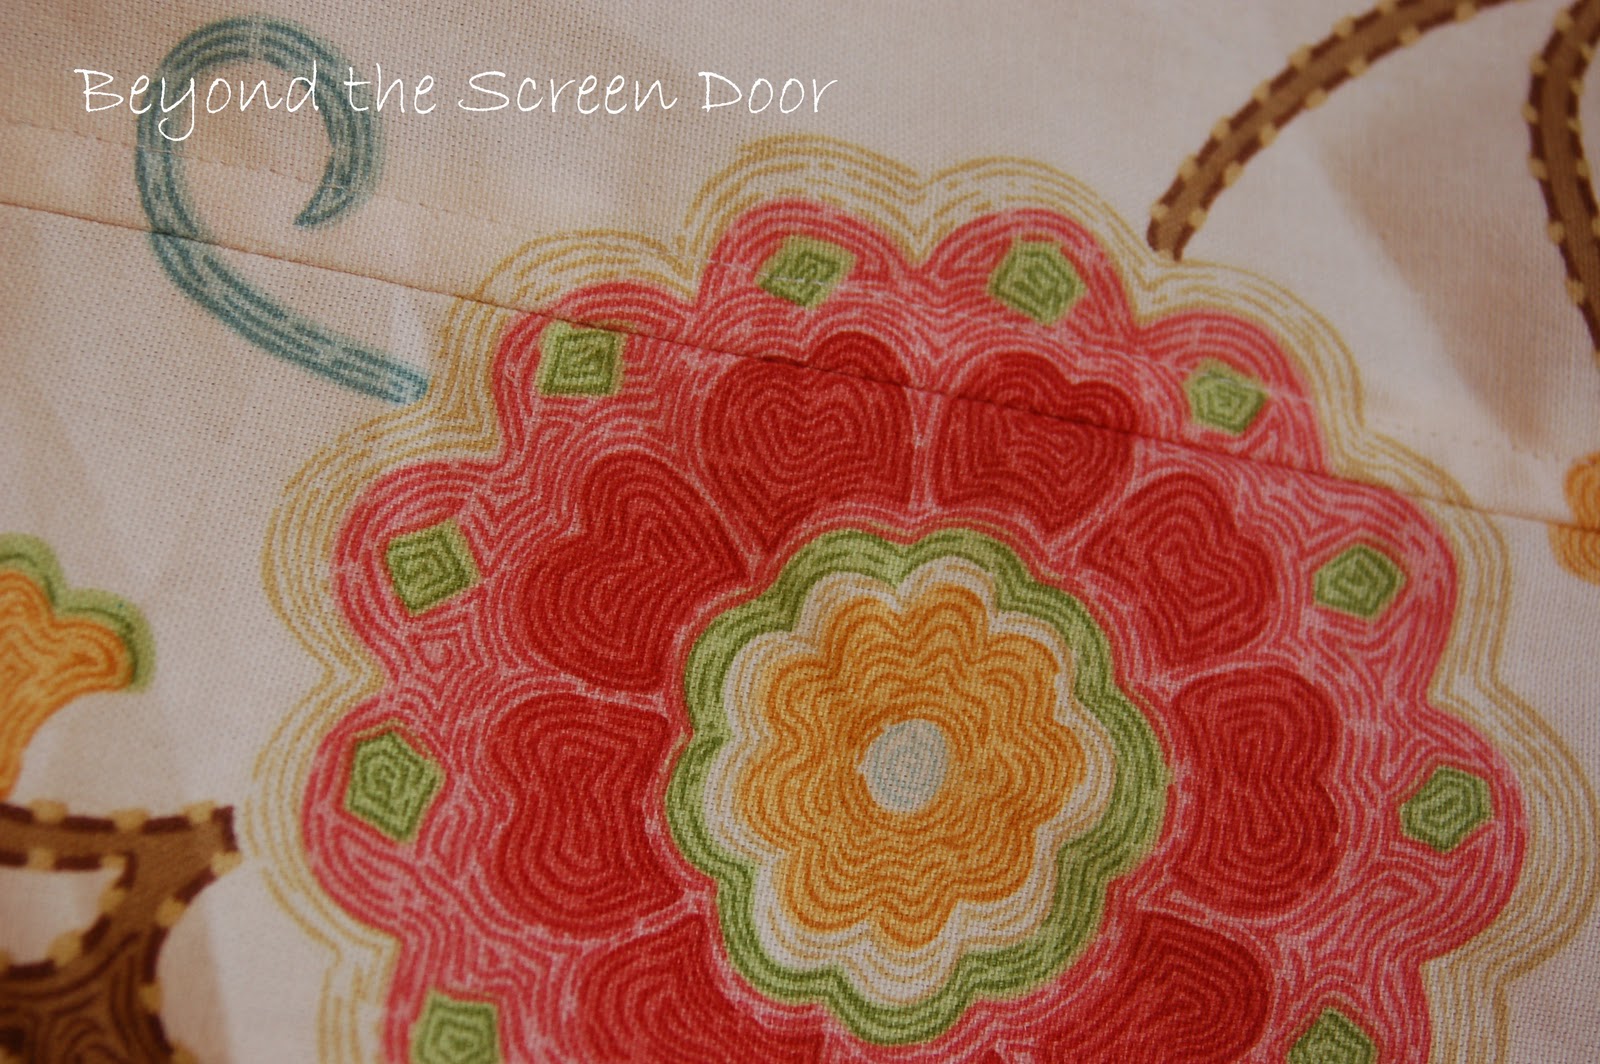
I then topstitched the folded seam in place.
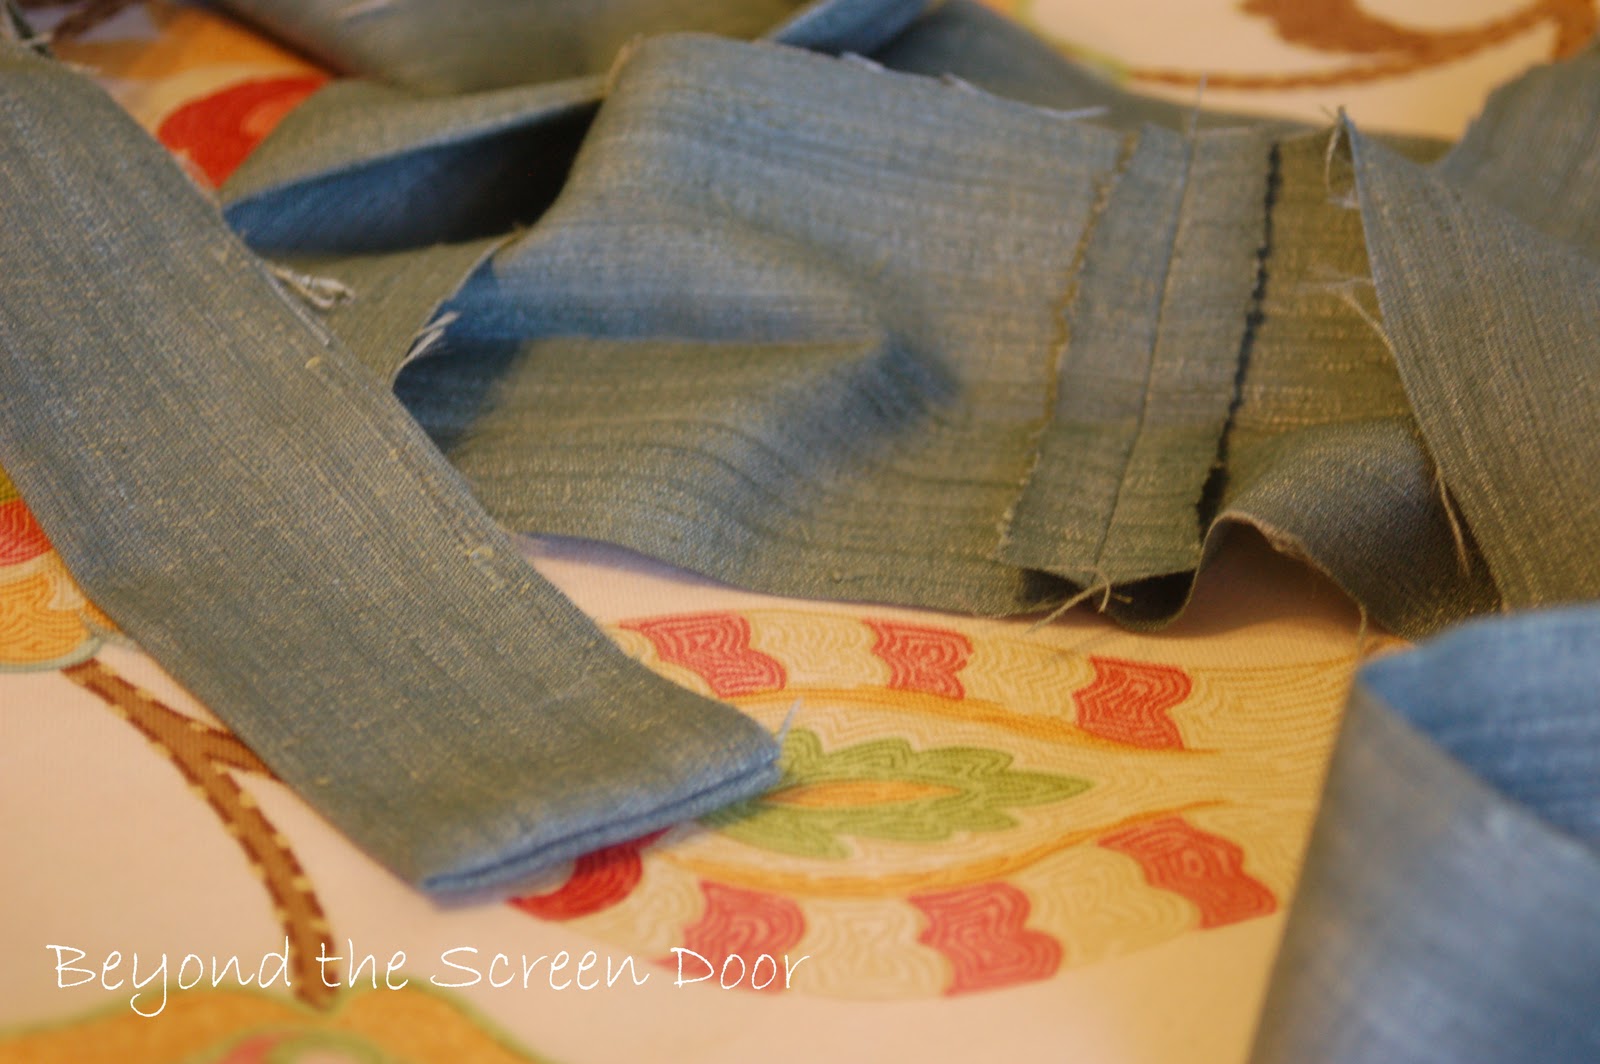
For this shower curtain we added a 1.5" ruffle across the top out of a contrasting blue accent fabric.
The ruffle was gathered at 2x's fullness and attached across the top of the curtain beginning 3" in on each end. (3"=allowance for side hems)
A facing of the same blue was added to finish the back side of the curtain. Facing cut at 4", sewn to top edge of curtain. 1/2" turned under on bottom edge and topstitched on place. (The blue fabric was very thin so the white fabric you see under the facing is a backing to add strength and body. I used a medium weight lining for this backing. Flannel, lining, interfacing, doubling the fabric, etc. can be used)

The side hems are folded over, double 1.5" hem and topstitched in place. This step could be done with a blind hem stitch if preferred. (Here you can see why the ruffle was attached 3" in on each side)
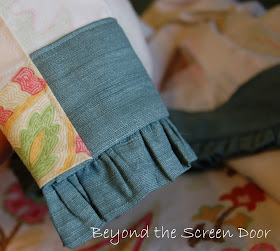
This is the front view of the topstitching and ruffle.

The bottom hem was finished with a 4" double hem topstitched in place. (Again, blind hem stitch could be used.) I forgot to take a picture of this step. I've borrowed this photo from Ellen at Nouveaustitch. Go check out her blog for great sewing tips and ideas! She is one talented lady! Thanks, Ellen!

Photo by Ellen at Nouveaustitch
The larger hem shown is the 4" double hem. The smaller hem shown is the side hem. For this method of hemming, hem the bottom of the curtain first, then sew side seams in place.
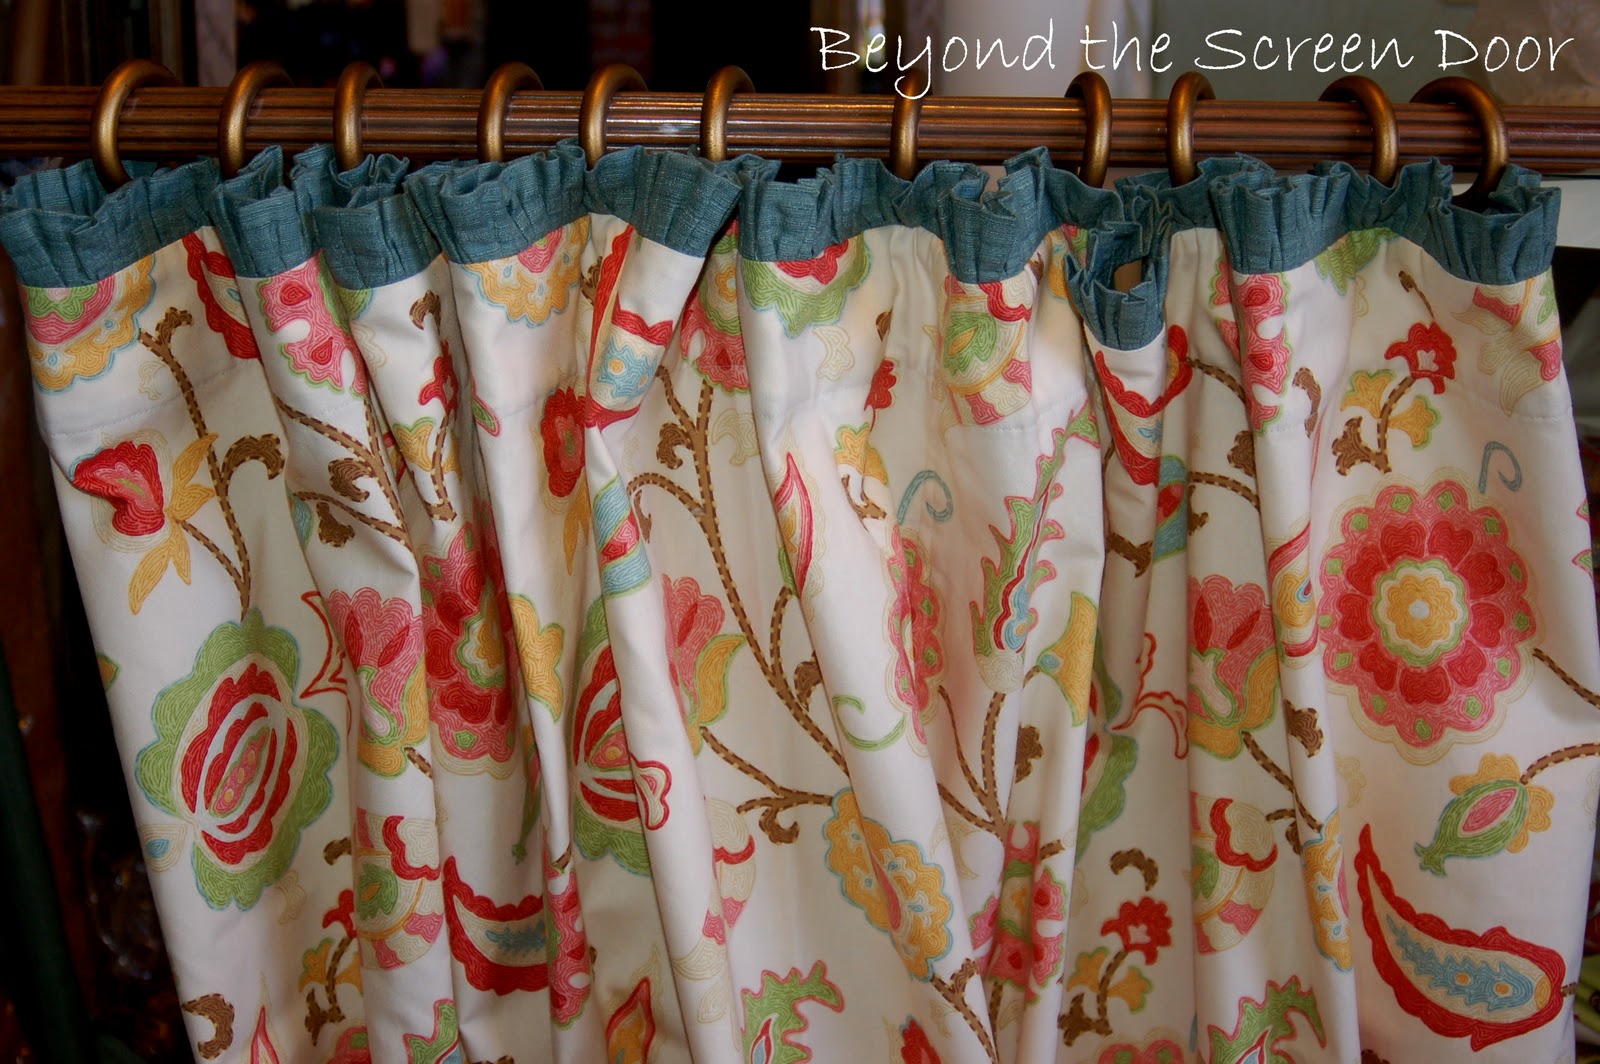
Instead of the typical plastic shower rings and metal rod, we chose to install this curtain with a wooden rod and rings. (In this photo, the curtain is hanging in my workroom to show how the rings were attached and spaced. I'll bring you future photos of the curtain in place after installation.)
You can see what a difference it makes to match up your pattern. Especially on a large floral like this.

This photo shows how the curtain will hang when closed.
This photo is similar to how the curtain will hang when pushed open.
Edit: A plastic curtain liner will be installed on a separate rod behind the decorative curtain.
Edit: A plastic curtain liner will be installed on a separate rod behind the decorative curtain.
So what do you think? Are you ready to customize something for YOUR home? You can do it!
Until next time!
**************************
Shower Curtain Details
width - 60" wide
length - mount rod at 88" from floor
to figure width:
60" wide x 1.5x's fullness = 90" Finished Width
90" + 6 (3" side hem allowance on each side) = 96" Cut Width
Hint: Sew full widths together first, then cut final width.
Hint: Sew full widths together first, then cut final width.
to figure length:
88" - 2"(clearance from floor) - 2"(rings) = 84" Finished Length.
84" + 8"(double 4" hem)+ 1/2"(top seam) = 92.5" Cut Length
2 widths x 92.5" long = 185" divided by 36" = 5.138 rounded up to allow for pattern repeat.
6 yds main fabric
Ruffle:
90" x 2x's fullness = 180" divided by 54" (width of fabric) = 3.33 widths rounded up to 4 widths.
For a 1.5" ruffle cut fabric at 4"- 4 widths x 4" = 16" of fabric
Facing:
3" finished facing = 2 widths x 4" = 8" for facing
8" + 16" = 24"
3/4 yd accent fabric
11 wooden rings hand sewn approximately 9" apart.
1 3/8" wooden rod mounted using inside mounted brackets.
Hardware found locally at Interior Fabrics. (These brackets can also be found at your hardware store. They are often referred to as wooden closet brackets and often come unfinished)


SHARING WITH:
How adorable is THAT fabric.....love the combination...it turned out GREAT!
ReplyDeletesuzanne
OK that is so cute!!
ReplyDeleteI wish I could sew.......in order to sew I'd need a sewing machine.....
right now I'll just have to stare at your masterpiece!!
This is beautiful! Would you need to put a vinyl liner behind it?
ReplyDeleteThe fabric is so beautiful and your workmanship, as always, is impeccable!
ReplyDeleteGreat tutorial and I love the fabric. Gorgeous. Hugs, Marty
ReplyDeleteThank you, SheilaG for asking about the pastic liner! Yes, you'll need to use a liner installed on a separate rod. This can be on a regular tension shower curtain rod if you plan to leave the curtain closed. If you'd rather the curtain remain open when not in use, then I would use a more decorative rod. Thanks for the reminder!
ReplyDeleteThis is gorgeous fabric, Sonya! I can see how matching the pattern makes a big difference in how this looks. Love the ruffle touch, too. I'm attempting to dress up some plain sheers I got last year for my dining room, a la Sonya! : ) I just did one last night as an experiment and did a sleeve for the tension rod. I put it on my living room window so I can see if I like it and, so far, this morning, I like it. I may try to tackle the other two I need this weekend and then I'll share.
ReplyDeleteI'm trying to kill two birds with one stone by using fabric I already have {although I think I may need to get some trim as a finishing touch} plus it keeps me feeling like I'm doing stuff inside my house while it's on the market.
Fabulous!
ReplyDeleteThat does sound like me! I always think those exact thoughts and I want everything in my house customized!! I don't have any store bought window treatments. Mine aren't nearly as beautiful as yours, but they are one of a kind, which makes me happy!! Everything you sew is beautiful and I find so much inspiration on your blog!! Thanks for the wonderful posts!!
ReplyDeleteHow lovely! This fabric is so cheerful. The blue ruffle is just perfect. This is a fabulous tutorial. Thank you, for sharing your skills with us! There is so much inspiration on your wonderful blog. Love it!
ReplyDeleteEllen is one amazing seamstress. To be as skilled with a sewing machine as you two ladies is one of my dreams!
A girl can dream, right! ha-ha
have a happy day~ L
Shower curtains are expensive, but you make it look easy. I love the ruffled detail...I guess I have ruffles on the brain right now!!
ReplyDeleteThat is awesome! You are one talented girl!
ReplyDeleteI love it!! Great fabric!
ReplyDeleteI wish that I could sew like you!! When I was a kid I never had any interest in sewing and I was afraid of the sewing machine. I am quite handy with crafts and a glue gun but, I guess I will have to have you make me anything that would require any really skills. You are so talented!
ReplyDeleteAhhh,....it's been years since I made a custom shower curtain. Now I want to make another one - thanks! Anything with straight seams is a friend of mine!
ReplyDeleteAnother wonderful job, Sonya. I must admit I feel a bit cheated not seeing them full-length with the bottom pink fabric showing :(. Hugs, Kim
ReplyDeleteThat is so cute! Can you tell me where you bought the fabric? I just bought some metal flowers to hang in our bathroom and needed a pretty shower curtain to go with it. This would go perfect!
ReplyDeleteThank you! Mela
I LOVE your shower curtain!! I have been looking for a fun curtain without luck! Thanks for the inspiration!!
ReplyDeleteHey there! Just wanted to let you know that I LOVE your blog! I awarded you with the STYLISH BLOGGER AWARD today! Hope you come over to threemangoseeds.blogspot.com to check it out! XOXO
ReplyDeleteWow! I love it ! You have the magic !
ReplyDeleteSonya, thanks for reading and commenting on my health trials and journey. Sitting here typing with one hand after getting 2nd degree burns on my left hand last night being an idiot with an iron. lol They asked me at minor med if I drink and I told them no, but I sure am driving my husband to do so! lol It's been a lot, for sure. :)
ReplyDeleteYay! A tutorial from a master! I could use this - have a whole bathroom not done yet!
ReplyDeleteI love the fabric you used! So pretty. (And no, I NEVER think, "I can make that". I think, "Sonya could make that.") :)
ReplyDeleteThis is darling Sonya~ absolutely charming! :)
ReplyDeleteThis comment has been removed by a blog administrator.
ReplyDeleteDon't give me any ideas! It could be dangerous! lol
ReplyDeleteBeautiful Sonya! LOVE the fabric!
Lou Cinda
Such a great tutorial and how fun is that fabric. Thanks so much for linking it up at BeColorful.
ReplyDeletePam
Very precious but ya lost me at french seam! Ha!
ReplyDeleteSonya, that is so beautiful. You have a magic touch. I love to come visit your blog. It inspires me.
ReplyDeleteBlessings,
Shelley