
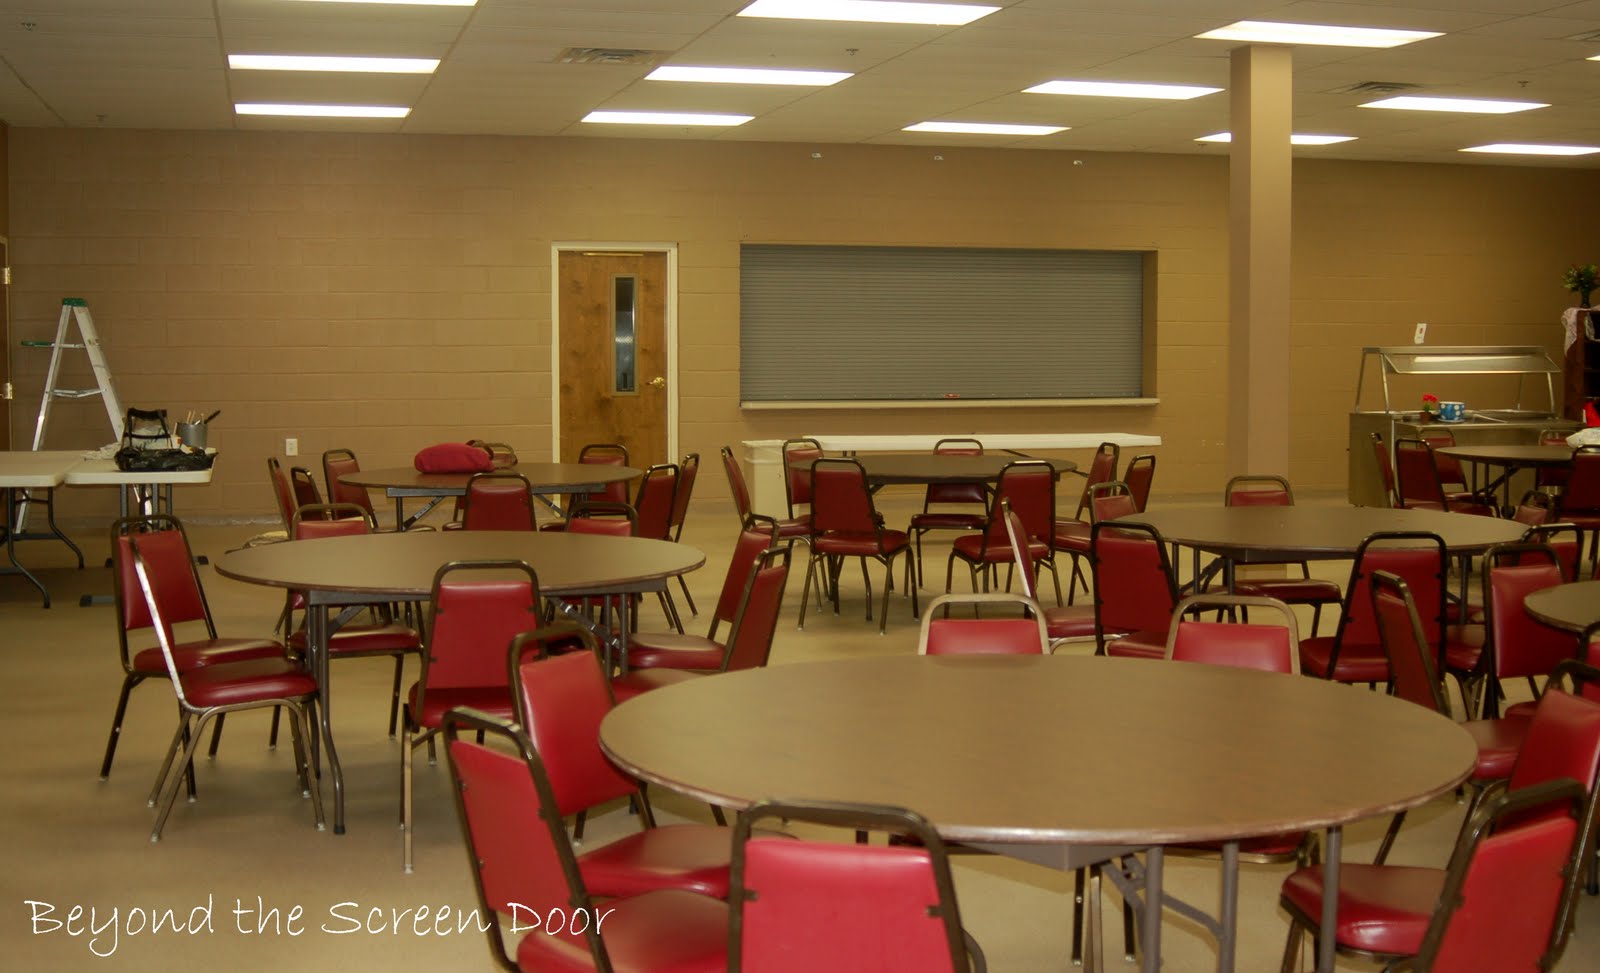
The Grapevine, at Trinity Worship Center in Burlington, North Carolina, is a place that's been especially created for great food, great fellowship as well as a delicious cup of coffee.
A few weeks ago, my brother-in-law Keith, who is on staff at TWC, contacted me asking for ideas for this space. The church was wanting a marketplace theme and already had the idea for an awning above the serving window.

Due to the fact that The Grapevine is a multi-purpose space with tables and chairs being moved on a weekly basis to accommodate various activities, multiple accessories were not a viable option. So to begin creating an atmosphere of a marketplace we began with the best decorating tool out there...paint! Using paint to turn plain concrete blocks into stone and square support columns into brick.
The color pallet.
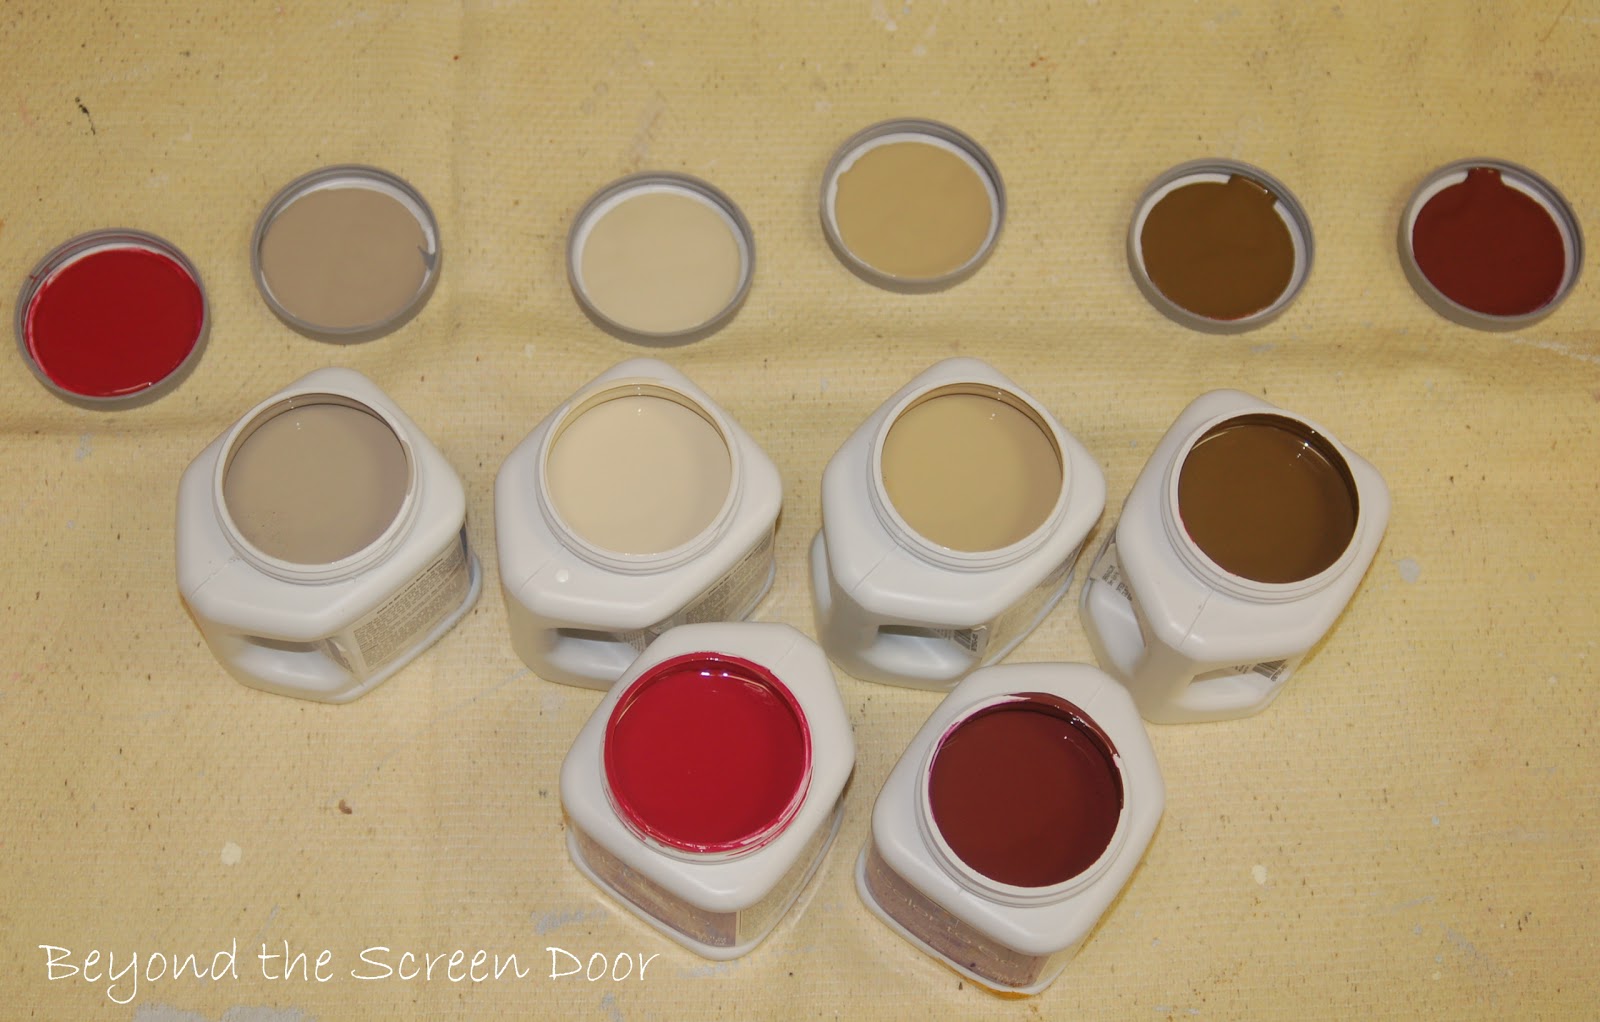
The top four colors were chosen as the pallet for the stone. Staying within the shape and pattern of the concrete wall, I began to paint. There's really not a formula for this look except to remember to keep it random. Continuing to vary the colors and keeping the whole wall in mind as you paint.

My paint tray was a cardboard box that 24 cans of soda came in. I covered it with a plastic trash bag and poured in my four colors. The cardboard box keeps the paints level (unlike a regular paint tray) but it will eventually end up looking like the bag on the right. (Kind of like a bowl of vanilla ice cream mixed with chocolate and caramel syrup.)


The stone wall measures 10' high x 47' wide and took 11 hours to paint.
A possible future addition to this wall would be adding clusters of brick to the stone to give the appearance the stone had been repaired and replaced over time with bricks.
A striped awning is in the works for the space above the serving window. 

So if you live in the Burlington, North Carolina area and are looking for a church home, go by and visit Trinity Worship Center. Wonderful people, wonderful worship.
Where would you use a paint technique like this? An outbuilding? A Patio? A exterior wall? A Pool house? Any ideas?
Up next: Details on painting brick columns.

SHARING WITH:


The Shabby Creek Cottage Transformation Thursday


That is amazing Sonya! I love your SW paint samples! Made that project very affordable I am sure!
ReplyDeleteYour paint samples are awesome and I sure result of your project work likes everyone. Interior is awesome and excellent work.
ReplyDeleteProfessional Resumes
Sonya, you are just full of talent! It looks great!
ReplyDeleteI am up at 2 am with my dog, and you have me wanting ice cream with chocolate and caramel syrup now! This is not good!!!!!!
Looks great. I actually painted the block walls in our church nursery pink and blue!
ReplyDeleteIt really looks beautiful and the people love it. Keith has heard so many wonderful compliments! I can't wait until the window treatments and awning are in place. :)
ReplyDeleteThat is an amazing transformation Sonya! I love it. I got your email but just got to Dallas.
ReplyDeleteIt looks great! Makes me tired looking at it.....especially the brick. They must have taken forever!
ReplyDeleteSonya, you're soooo talented! It looks great!!
ReplyDeleteThat looks incredible Sonya! What a great idea and it totally transforms those walls. Can't wait to see the rest of what you do to the space! :-)
ReplyDeleteVanessa
Hi Sonya, that looks beautiful! We are planning on finishing our basement....I think that maybe painting the blocks would would great!
ReplyDeletehave a wonderful day,
Regina
Well, it looks awesome Sonya! I just love it! And the idea to add the bricks in is just genius!!
ReplyDeleteLou Cinda:)
You are certainly a master at what you do! The wall and pillars look great, girl! You are turning this ho-hum space into something interesting and wonderful ;). Hugs, Kim
ReplyDeleteYour faux stone looks fabulous. I can't wait to see what else you add.
ReplyDeleteTraci
Truly an amazing project. You are so talented, lucky church. Can't wait to see the awning, will be too perfect.
ReplyDeleteYou did an absolutely amazing job. I love it. Very, very pretty!
ReplyDeleteThat is awesome Sonya...what a WOW factor.
ReplyDeleteWow, that looks amazing! So great that your whole community will be able to enjoy it~
ReplyDeleteThis is amazing! so clever :)
ReplyDeleteI'm your newest follower - thanks for the inspiration!
That is gorgeous! They asked the right person to help! What did you use to do the support beams? Everything looks amazing.
ReplyDeleteThat looks amazing! So easy and creative.
ReplyDelete2027
WOW!! Just plain fabulous!!
ReplyDeleteI am sure that the folks at that Church love it... I am considering painting a whole wall fireplace... You inspire..
Thanks for sharing
Very nice. It really transformed the space and made it less industrial!
ReplyDeleteFeel free to check out my site.
Fondly, Tami
www.thisandthatfromtami.blogspot.com
Nicely done! I did something similar to my son's bedroom walls, but dipped the perfect sized sponge in the mottled paint and stamped it on. Lots of work but still a neat turn out. I know, I KNOW how much work this was! :)
ReplyDeleteDonna
WOW that made such an amazing difference! Great job! That's A LOT of hard work right there :) Found your site on Shabby Nest link party. I'm a new follower :)
ReplyDeleteThank you for sharing your thoughts and knowledge on this topic. This is really helpful and informative!
ReplyDeleteElcometer 224