If you've followed this blog for a while, you know I love the concept of mixing unexpected fabrics together. When Stacey asked me to make her shower curtain, as well as recover a lamp shade for her bathroom, she particularly wanted this mix of fabrics. You can see more on Stacey's Shower Curtain here.
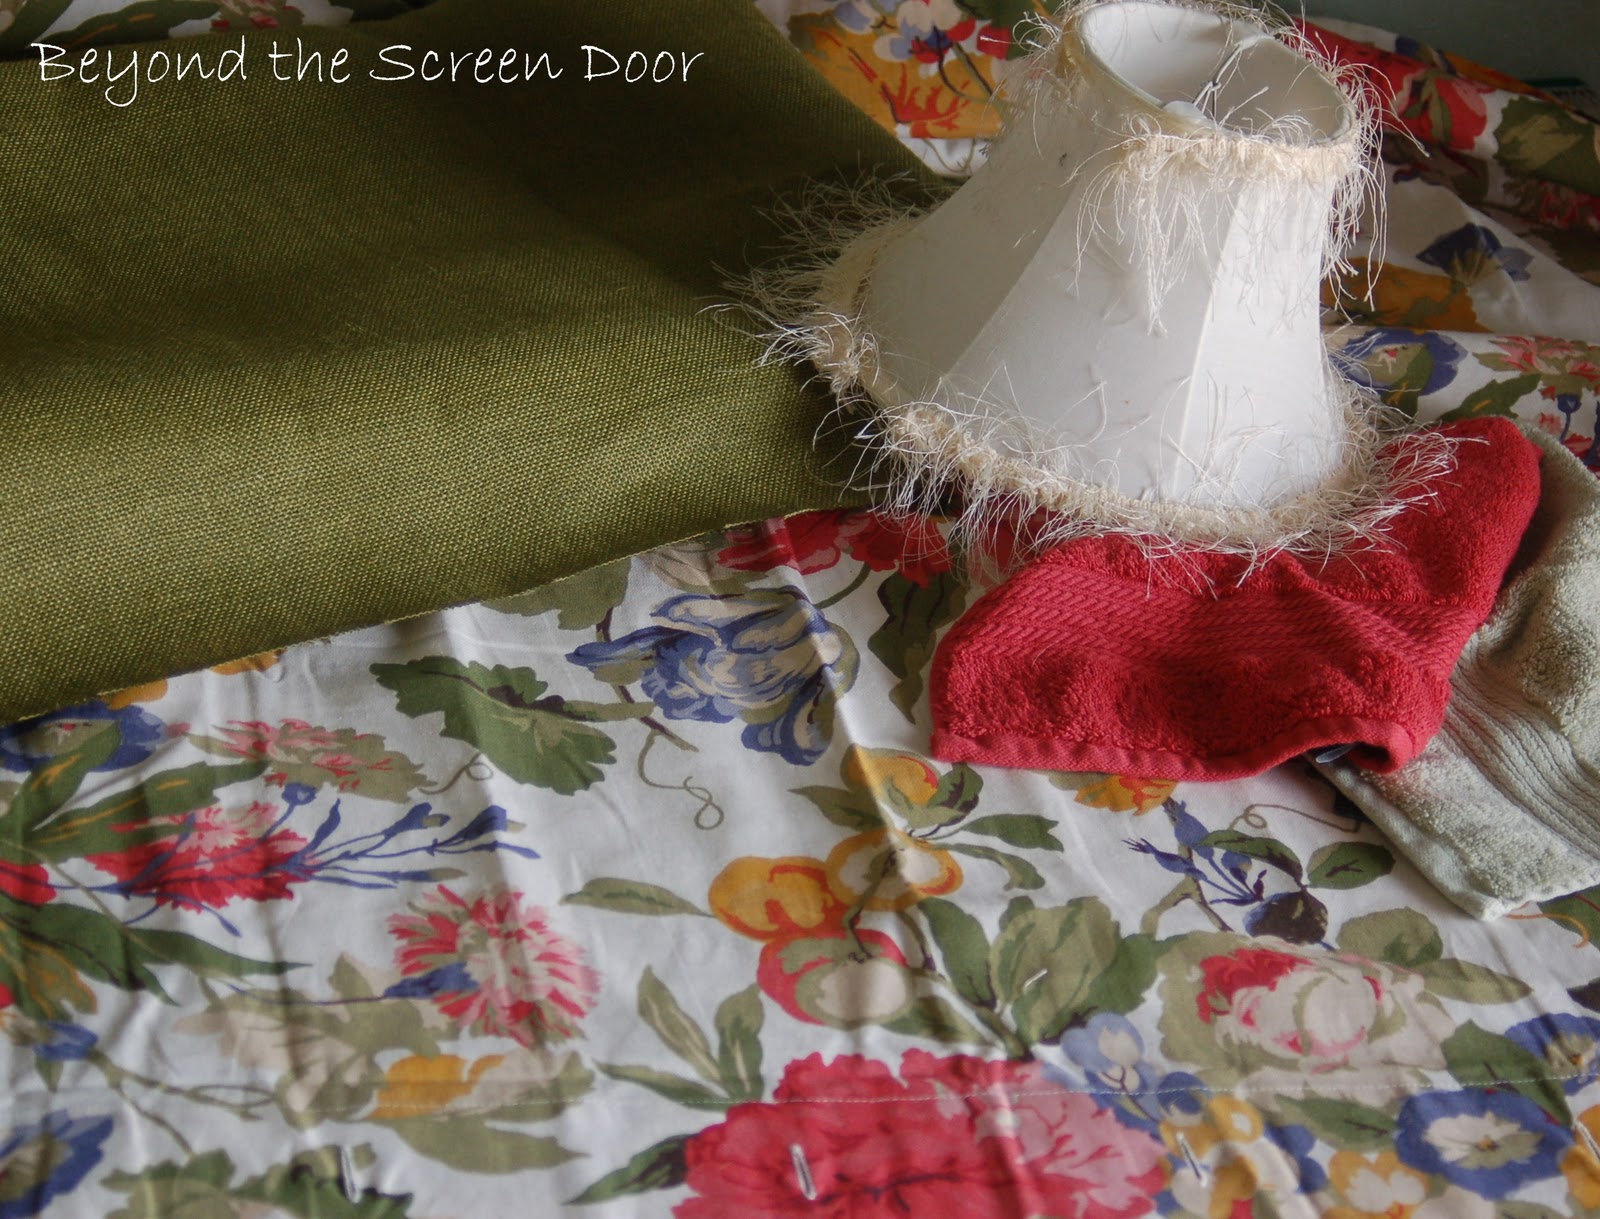
The lampshade began as your basic 6 sided lampshade. I removed the eyelash fringe but kept the original shade fabric in place.


Using a piece of the original shower curtain fabric, I began my making a template of sorts of the shape of one side of the shade.

Holding the fabric in place and using the wires in the lampshade as my guide, I drew a pattern on the reverse side of the fabric.

Folding the piece in half and lining up my pencil lines...
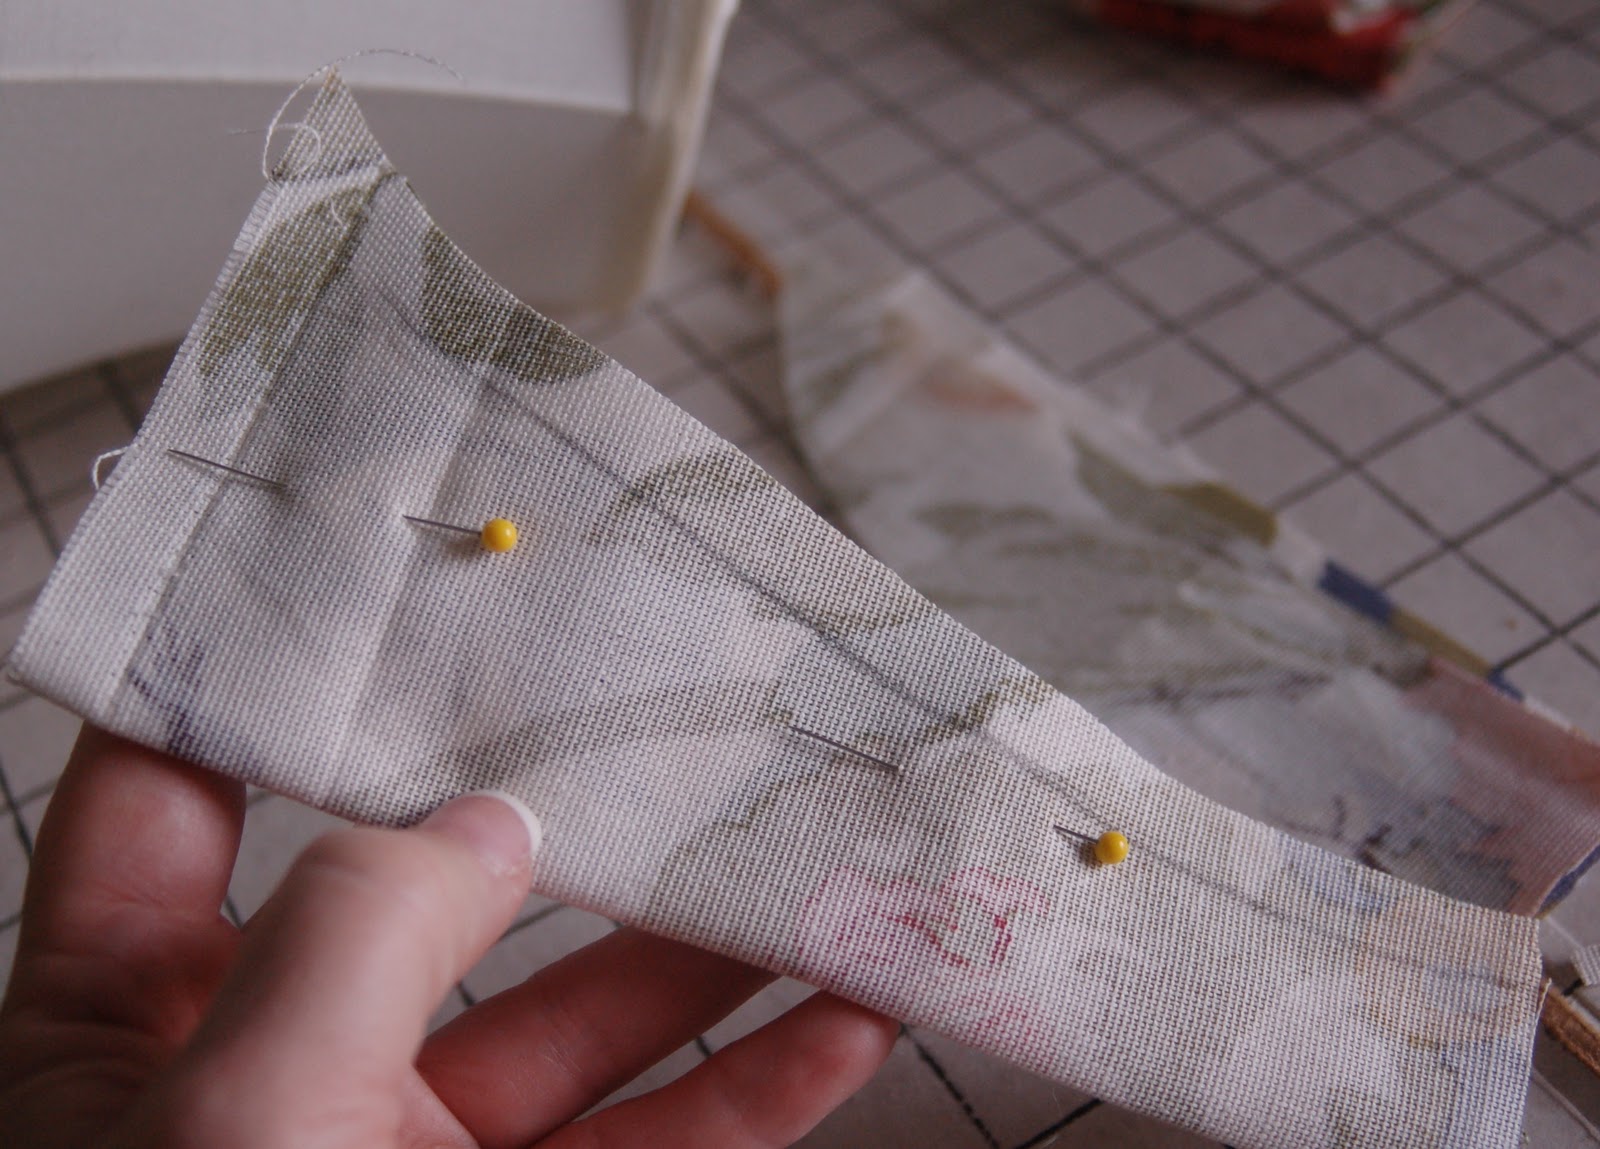
I cut out the shape I needed allowing an extra 1/2" on all four sides.
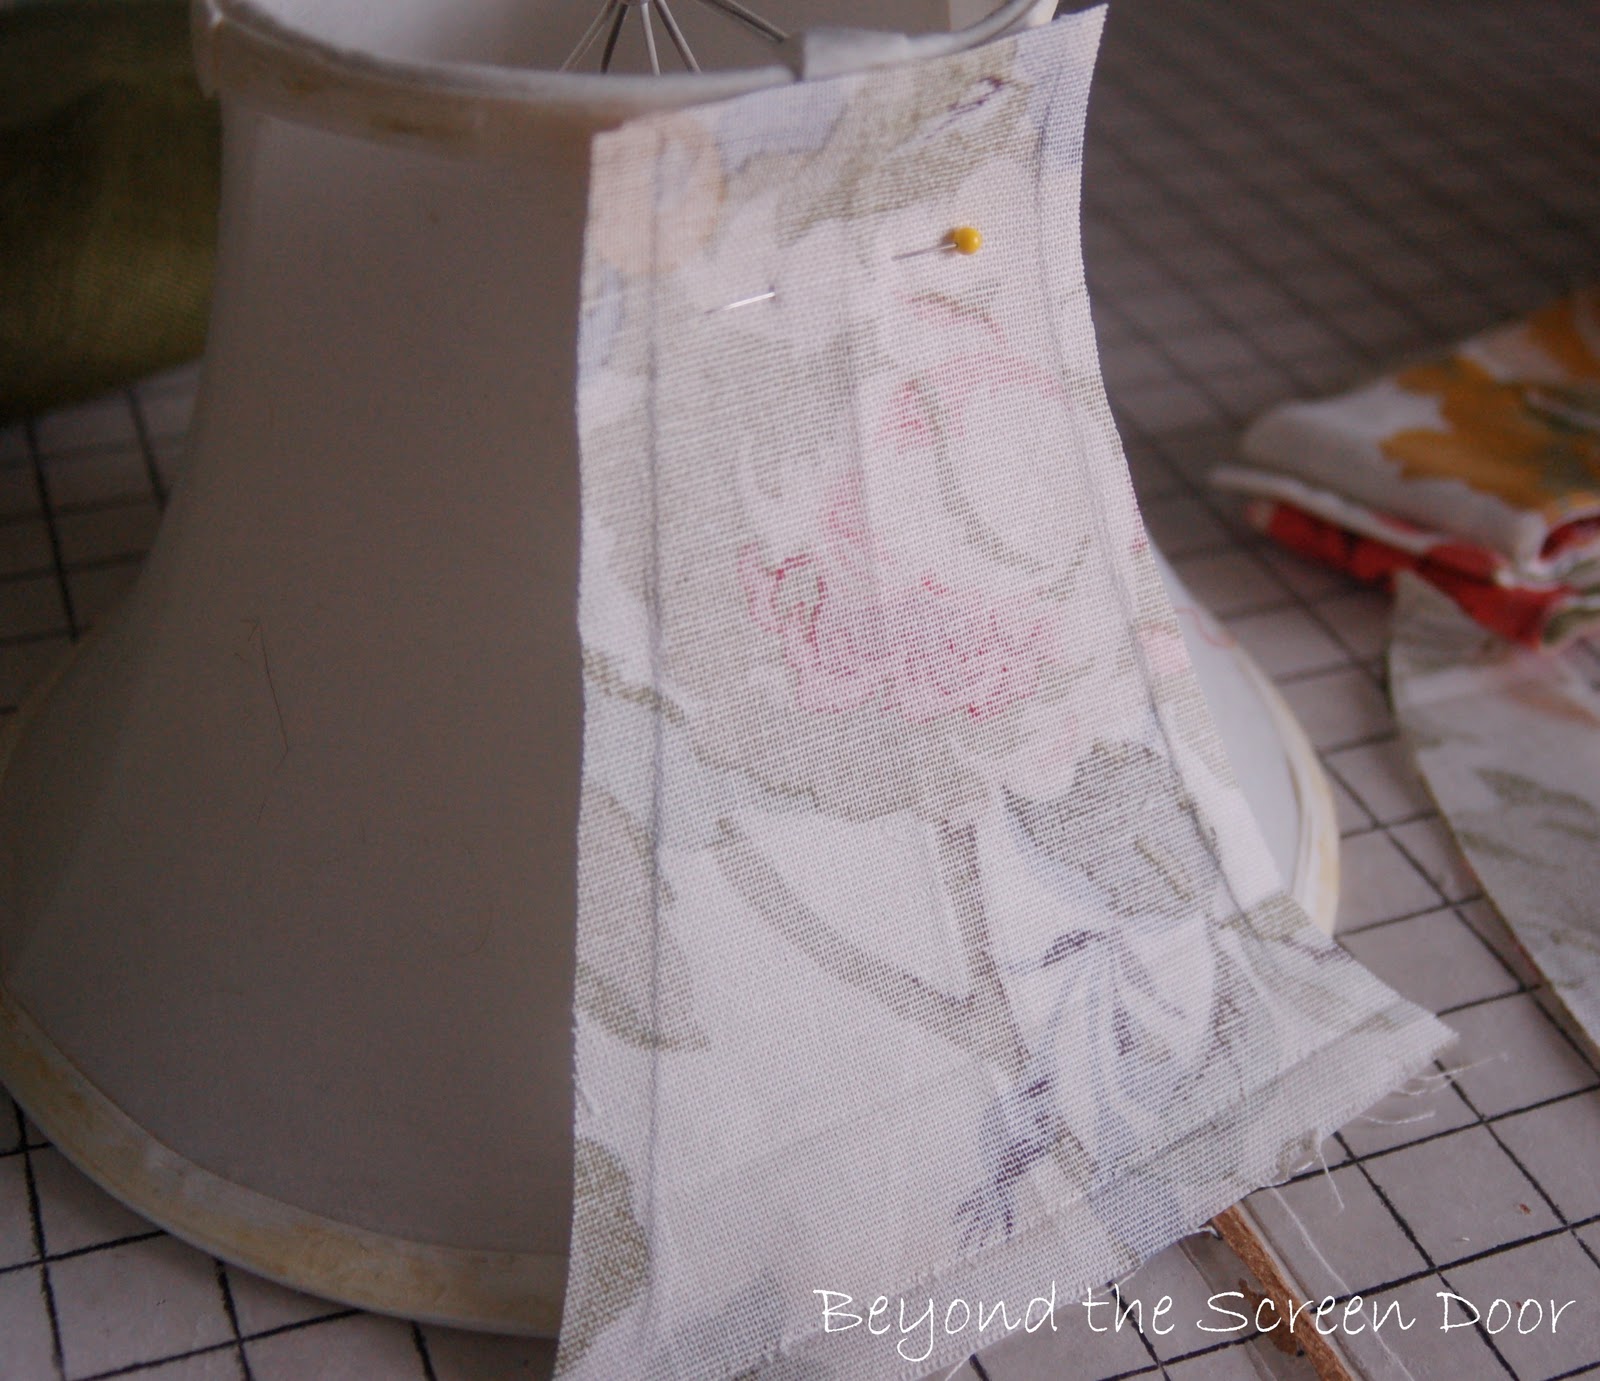
Here's my first piece pinned in place.

Using the first piece as a pattern, I repeated the process cutting out 5 additional pieces.
For this particular lampshade I decided to use three fabrics. The original shower curtain fabric, the green burlap coordinating fabric and a third fabric that blended with the other two. I cut two pieces of each fabric.
For this particular lampshade I decided to use three fabrics. The original shower curtain fabric, the green burlap coordinating fabric and a third fabric that blended with the other two. I cut two pieces of each fabric.
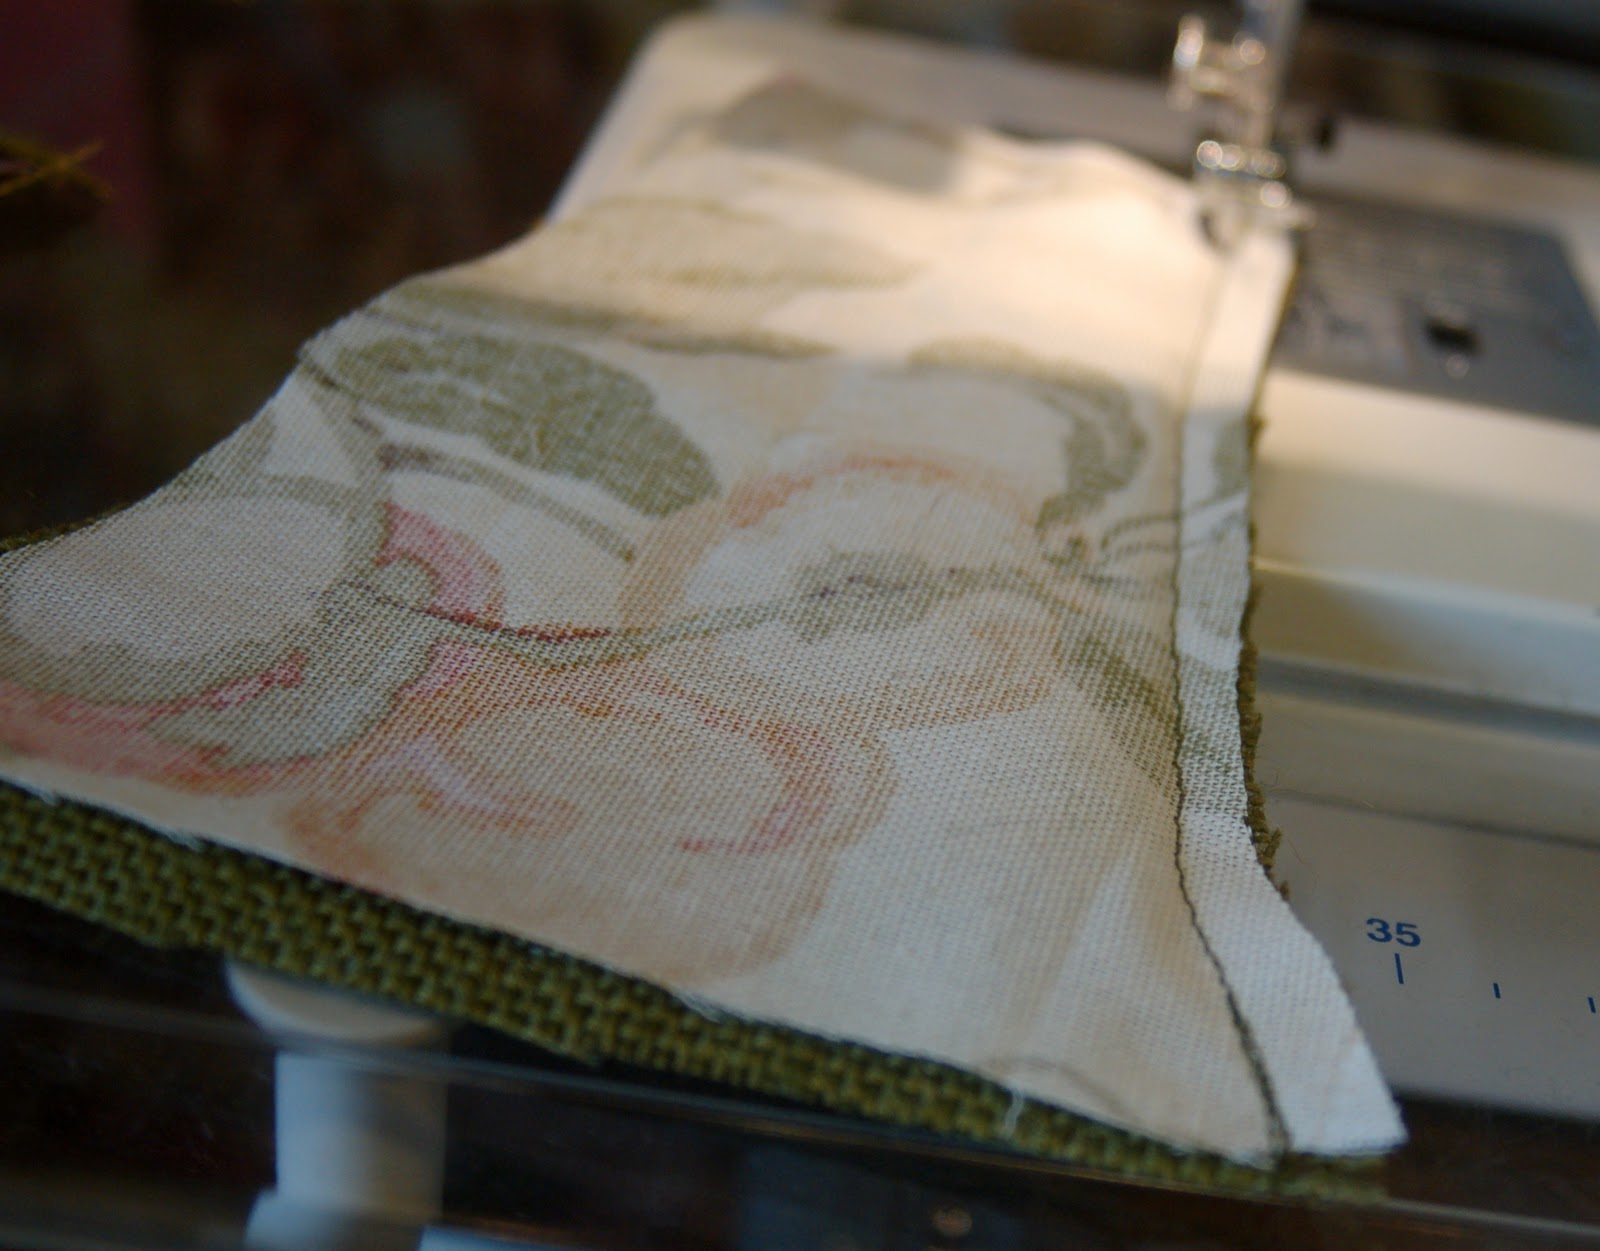
Using a 1/2" seam I sewed the 6 pieces together leaving the last edge open.

Placing the now sewn pieces together, right side facing the lampshade, I made sure it fit the shade.

I ironed the seams flat and sewed the last seam together making a slipcover for the shade.

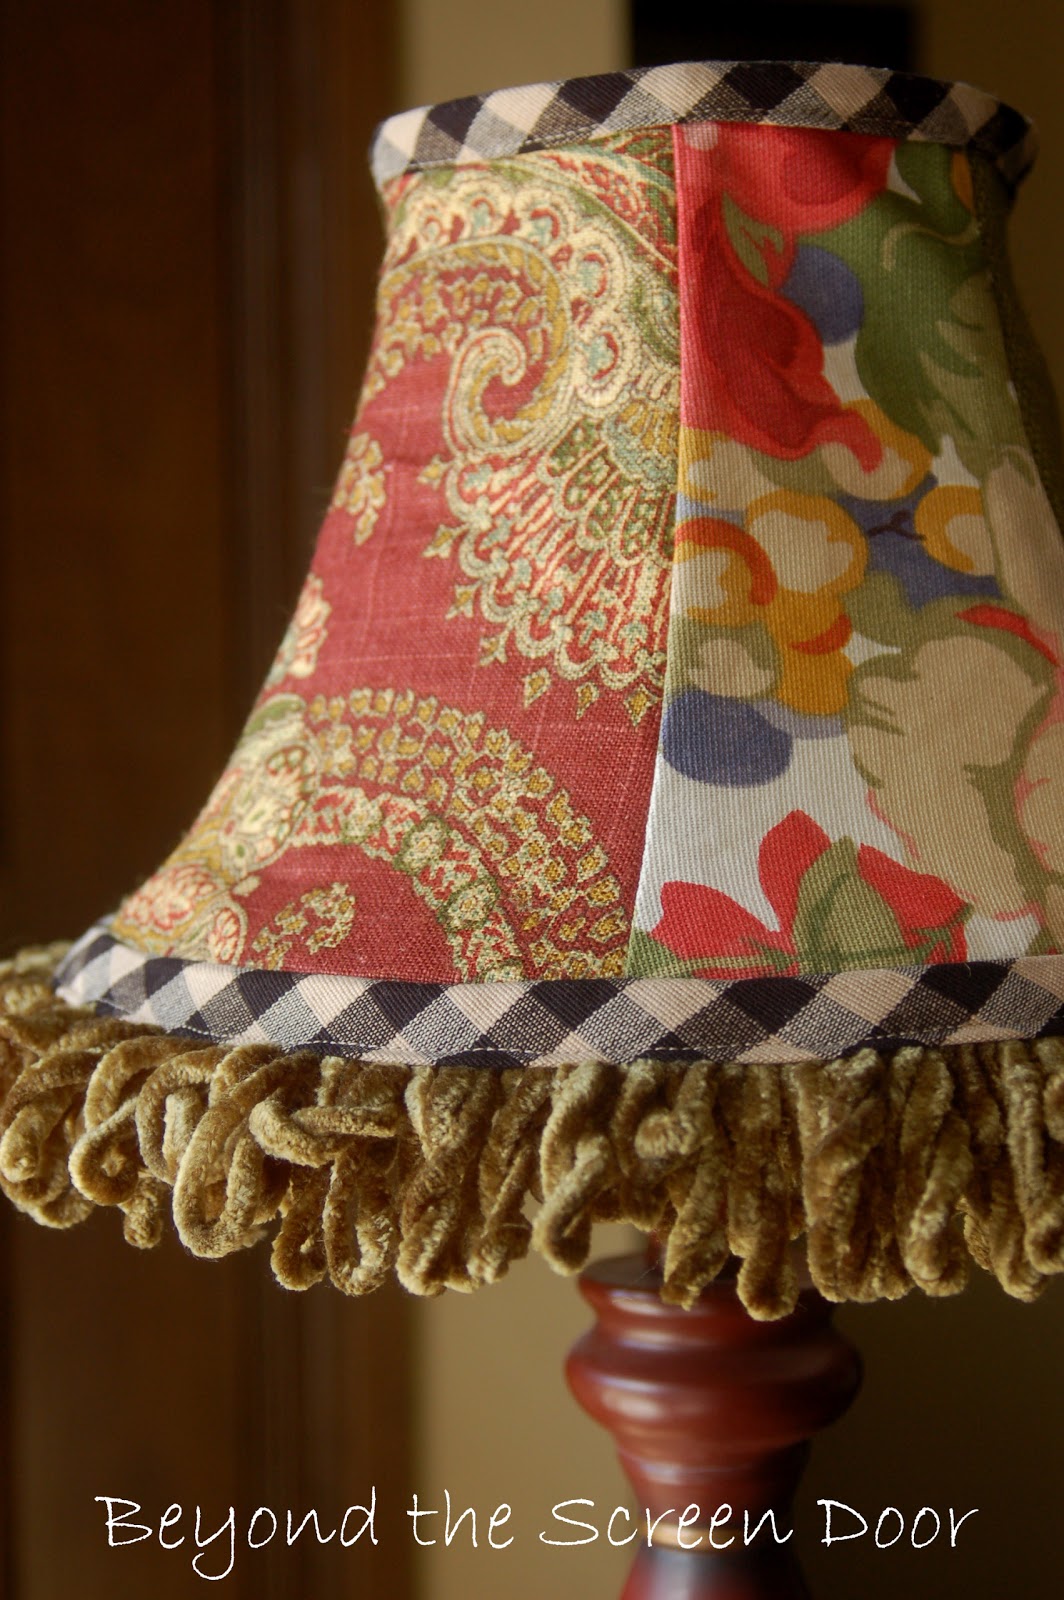
Here you can see the how the three fabrics were sewn together and the slipcover in place.There are still raw edges along the upper and lower portion of the shade.
Here's also where things get a bit tricky. For some unknown reason I completely stopped taking pictures at this point. I have no better explanation than I got wrapped up in what I was doing and simply forgot! So sorry! So I hope the rest of the directions make sense.
I made a seam binding, of sorts, out of the black and cream check cutting it on the bias to get the diagonal appearance. This was cut 2" wide and the measurement of the circumfrance of the shade being my length. The raw edges were then folded together to meet in the middle and then folded again and ironed to form a 1/2" wide strip of fabric.
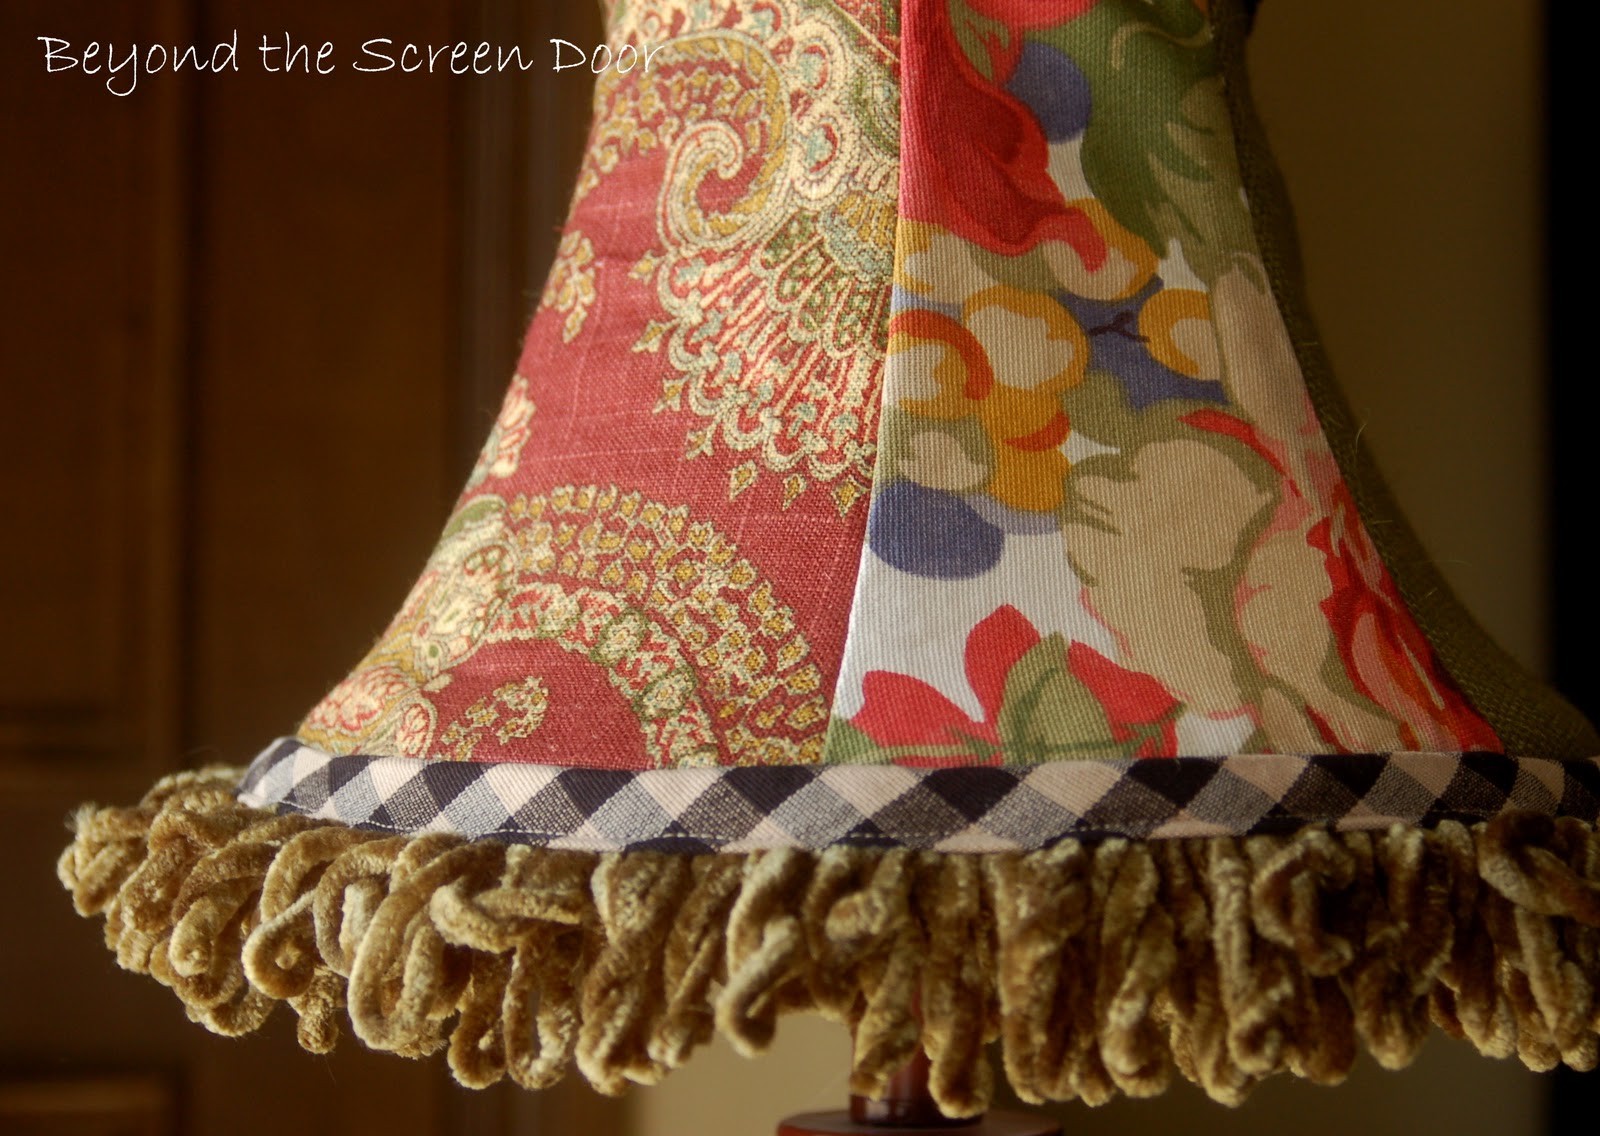
The fringe along the bottom edge was then sandwiched between the two sides of the seam binding and sewn in place along the lower edge of the lampshade slipcover. The upper edge was completed in the same manner.
When finished, the entire slipcover was then slipped over the existing fabric covered lampshade. I used hot glue to secure it in several places along the upper and lower edges to ensure it stayed in place.
Once you have sewn your actual slipcover, you can finish the upper and lower edges by simply turning under the raw edges and hot gluing a flat braid in place if you choose.

Stacey sent me this photo of the lampshade in place in her bathroom! Look at that adorable rabbit lampbase! So cute!!!
Thanks Stacey!

SHARING WITH:
I LOVE it, Sonya! You are the Mistress of Mixing Fabrics! : ) I don't think I'd be able to do accurate cutting to sew a lampshade cover like this, but you gave excellent instructions. Love the trim, too. I love Stacey's lamp! I am a bunny lover ~ any chance she might share where she found this cutie?
ReplyDeleteWhat an awesome creation of fabric blends, Sonya. Love the lamp, too.
ReplyDeleteHave a wonderful weekend ~
TTFN ~
Marydon
amazing! Off to see the shower curtain.
ReplyDeleteOh my goodness that turned out amazing!!!
ReplyDeleteYour shade is elegant awesome"ness"! I wish I could sew!
ReplyDeleteSo cute! I love the colors and patterns you chose for the shade, but then you always do that well. I must add this to the project I just have to try.
ReplyDeleteTraci
I love this project! How clever that you actually made a "slipcover" for the shade. And the fabric selections and trims are just perfect. Great project and great results!
ReplyDeleteSonya! This is so pretty! You are marvelous at this and what lovely fabrics you've chosen for the lampshade!
ReplyDeleteBe a sweetie,
Shelia ;)
I always love these, but have yet to make my own... I get wrapped up in projects and forget to take photos, too. Another great job, my friend!
ReplyDeleteWow, lots of work for that one little lamp. But what a cutie it turned out to be. So custom.
ReplyDeleteLove, love, love!
ReplyDeleteHi Sonya,
ReplyDeleteI love everything you create and this covered lampshade is no exception. I love the mixture of the fabric patterns and colors. The trim adds a pretty finishing touch. Thanks for the excellent tutorial.
hugs
Sissie
Well, how cute and funky is that? What fun! xo Diana
ReplyDeleteSonya,
ReplyDeleteYou are incredibly talented!!
I will certainly have to try this!
I'm in love with that lampshade and it looks so cute on that lamp!
ReplyDeleteWhat an adorable lamp shade! It's precious! I'm a new Linky follower!
ReplyDeleteWhat a wonderful transformation. You were able to take the very plain shade into a whole other place. Just lovely. I have started following via the new linky. If you have a chance, stop by for a visit and perhaps you might follow me back on my linky tool as well. Regards.
ReplyDeleteVery nice! I have several shades that need "replacing," but after checking out the cost of shades, I've decided I'll be covering as you did! I always save a swatch of fabrics used and keep handy in my purse for matching colors/themes... Good work!
ReplyDeleteI love the mixture of fabrics...this is just adorable - well done!
ReplyDeleteCute cute! A great tutorial. I have about eight old lamp shade forms around here waiting for me to be "inspired."
ReplyDeleteYes, and you are so good at it too Sonya. Very pretty!
ReplyDeleteI love the combination of fabrics! Looks great. I'm trying to find a fabric I like to add to some curtain panels that are too short. Like you said, you'd think that would be easy, but when you have a certain look in mind, it's not as easy as it sounds.
ReplyDeleteThanks for becoming a linky follower at mrs. hines class. I appreciate it.
Sharon
Great mixture of fabrics. Lovely details too with the fringe and the trim. Thanks for sharing.
ReplyDeleteWhat a great transformation...love it Sonya!!!
ReplyDeleteLuv your choice of fabrics for this project! I've always enjoyed mixing fabrics- I work in the furniture biz so it's lots of fun to convince clients that different patterns will really enhance their look. I want to attempt your project with a small lampshade in a guest room. Hope it turns out as well as yours looks!
ReplyDelete:-) Sue