You would think with as much sewing as I do that I'd have a ruffler attachment for my machine. So far, I've yet to purchase one! But here's my extremely easy and user friendly way of gather any sewing project! 
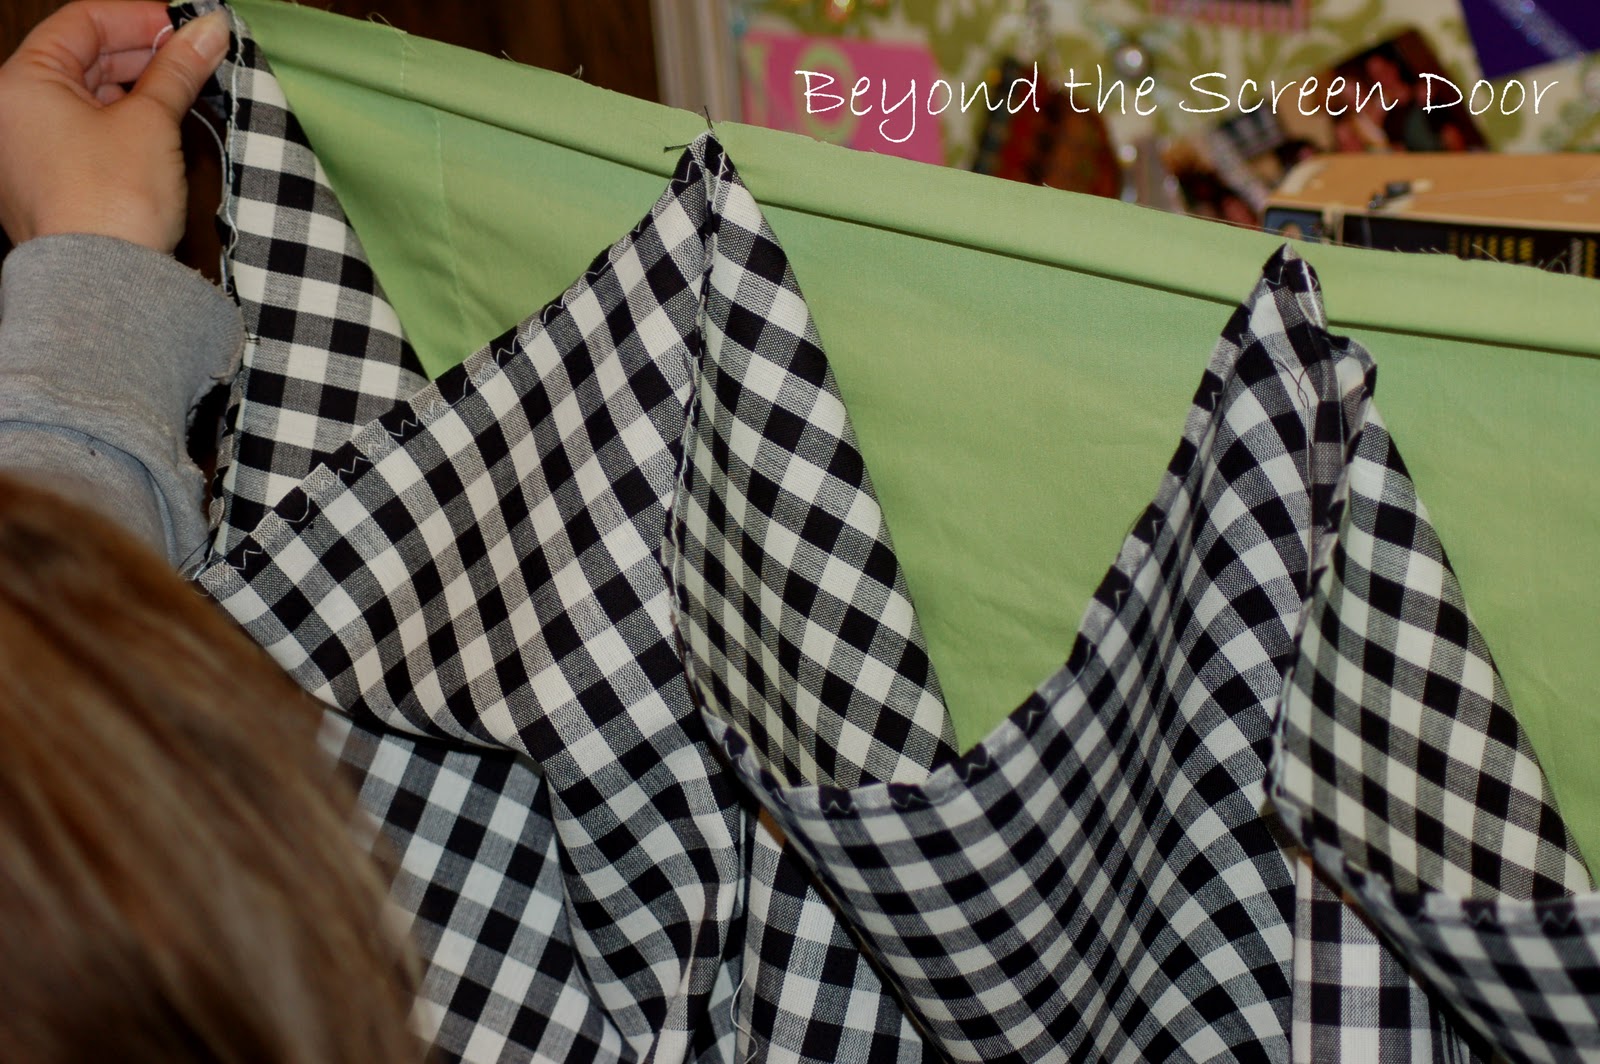
This project is a bedskirt (black & white check) that I'm attaching to the platform (apple green). The platform is the flat length of fabric the bedskirt is attached to that slips between the mattress and box springs.
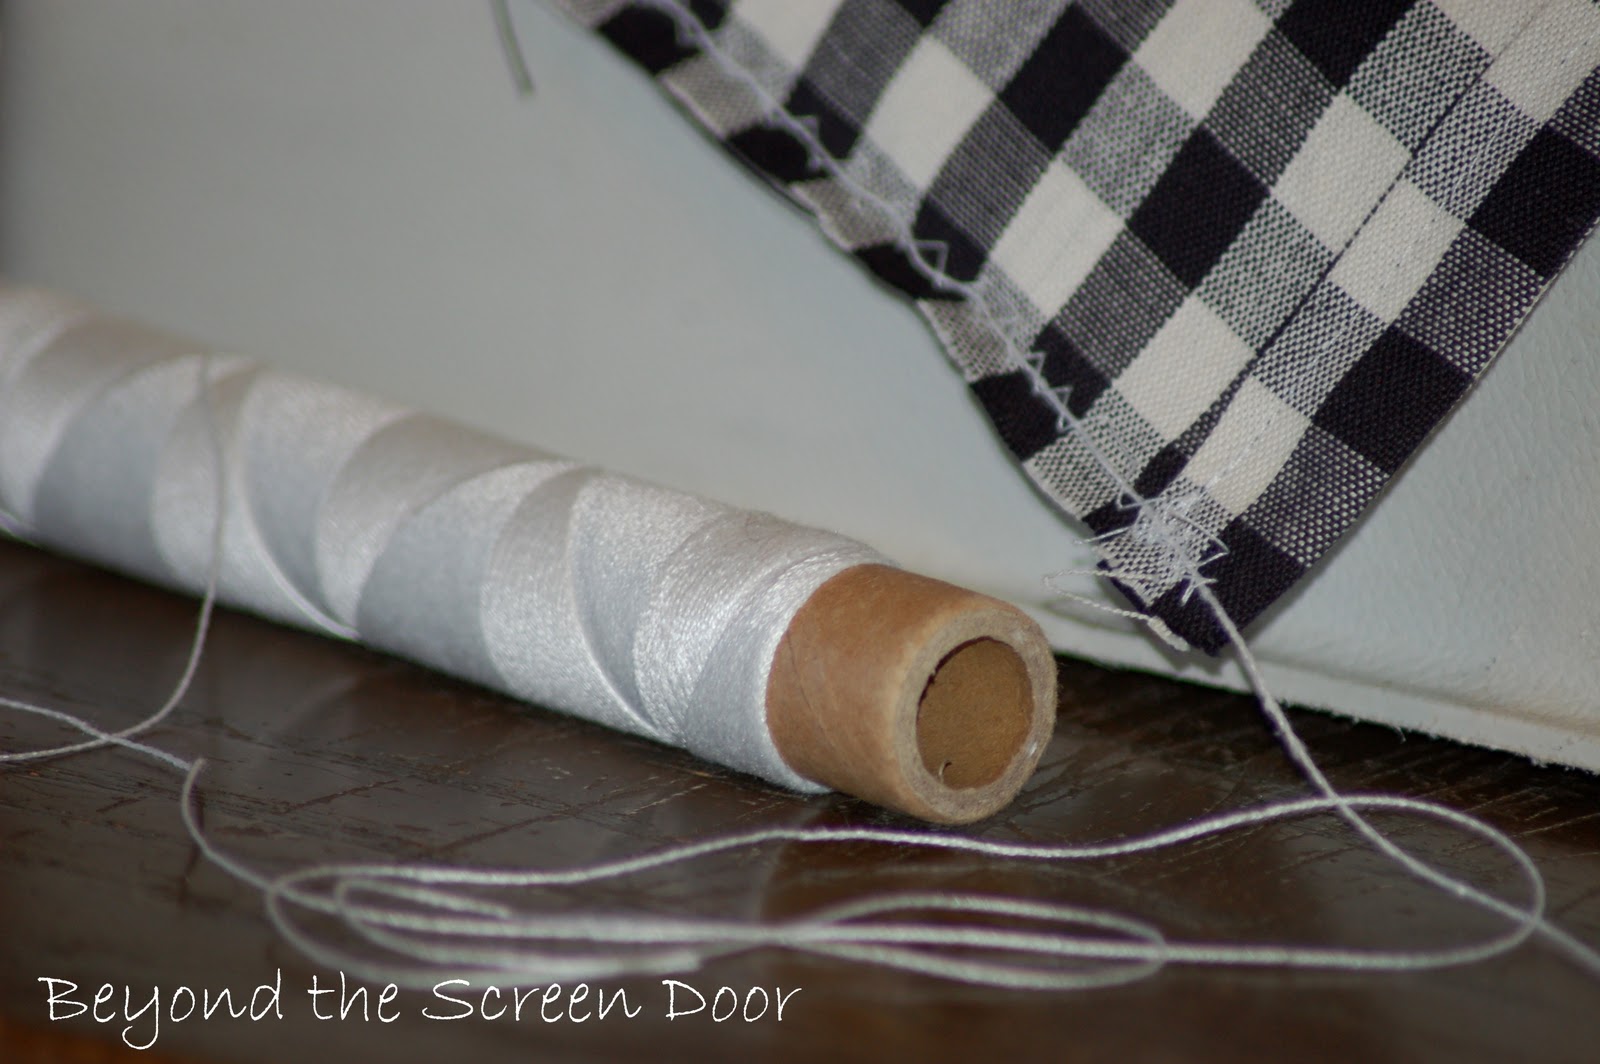
This method requires your zig-zag stitch set on the longest stitch length and widest width. You'll also need a strong, thin string. The string I use is similar in thickness to kite string. This can be purchased at any hardware store. Holding the string along the wrong side edge of your fabric, zig-zag over the top of the string being careful not to catch the string in your stitch. Leave 6" or so of string hanging out from each end of your project. This will give you a length of string to pull later.
You are basically forming a zig-zag tunnel for your string. Another tip is to be careful to keep your zig-zag close to the edge, within a 1/2" seam allowance. This will insure you don't see the zig-zag stitch once your seam is complete.

(If you look closely you will be see I accidental sewed my string to the right side of my fabric in the above photo. Not a problem. It's just easier to pull the string and gather your project if the string is sewn to the wrong side of the fabric. You will see it shown correctly in the last photo.)
Holding the extra length of string in one hand, gently pull, gathering up your fabric as you go. I usually gather to the center, smooth out the gathers evenly, using extra pins as needed, then move to the opposite end of the bedskirt and repeat the gathering process to the center.

To finish, the bedskirt and platform are then sewn, right sides together, with a straight stitch and a 1/2" seam.
This gathering process can be used on any project from bedskirts to pillow ruffles and everything in between! So much easier and less frustrating than trying to gather with a basting stitch.
Try it! You'll be amazed how much easier your gathering projects will be!

SHARING WITH:


Oh my gosh...what a great tip! I avoid gathering because the thread always breaks. When I recently sewed up my sink skirts I did pleats because I didn't want to go through the heartbreak of broken thread when gathering. I totally could have used this technique then. I will keep this in mind for future projects. Thanks!
ReplyDeleteThis is the technique I use, though I generally use perle cotton for the gathering thread. Never thought of a larger one. Great idea!
ReplyDeleteBTW, when I make bedskirts, whether ruffled or pleated, I make three pieces--two sides and a foot--attached to a 6" band rather than a flat panel. Then I use upholstery tacks to affix them to the box springs. Voila! Easy to change with the seasons. (This was a tip passed onto me by a lady who worked at a high-end upholstery shop. She said they sewed them to the box springs, said since the people they made them for would rather pay someone to change them when it came time to do so, there was no problem with the semi-permanent attachment.)
Hi sonya! I have used dental floss for this same technique...it never breaks! I also portion it off and gather in between. Lately I have just been hand gathering my ruffles out of sheer laziness...I mean shabbiness!
ReplyDeleteThanks for the tip. I've never tried this method. I do have a ruffler attachment but it doesn't work well on certain fabrics. I'm giving your method a try next time I need to ruffle something!!
ReplyDeleteGreat idea Sonya! I am getting ready to do a new bedskirt for my bed, so I will definitely use this technique.
ReplyDeleteWhat a great tip! I have a ruffle attatchment but I don't really use it very often. I tend to gather things by hand so this will be helpful.
ReplyDeleteUsing dental floss is a good idea, too, Amy!
thank you~
What a great idea! I don't have a ruffle attachment either, and was having a heck of a time getting my fabric to gather. Tahnks :)
ReplyDeleteWhat a great tip Sonya! Since I can "sew" now (LOL) I will remember this!! The bedskirt on my bed I stapled to a board and pleated it and slid the board between the matress and box springs. I wanted it gathered, but dreaded doing it the old way....thanks for sharing this!
ReplyDeleteAND I love that black and white checked fabric!
Might need to see an "after" of that project!
Lou Cinda
Thank you thank you! I'm in the middle of several "ruffly" projects right now and this will be a lifesaver! So tired of the basting stitch method. This looks like a breeze.
ReplyDeleteJennifer
That is so easy! I'll have to try this the next time I need gathers/ruffles.
ReplyDeleteI thought I was clever, but you take the cake! Wish I had learned about that quick tip 30 years ago!!! Smart lady....Thank you for sharing it!!!
ReplyDeleteI'm going buck wild crazy with ruffles now!
My hubby will have to get over it....
Tootles!