Before
Recovering a seat cushion is such a simple job that I debated showing you the "How To"! But there's a first time for everyone and maybe this will help someone realize just how easy this is!
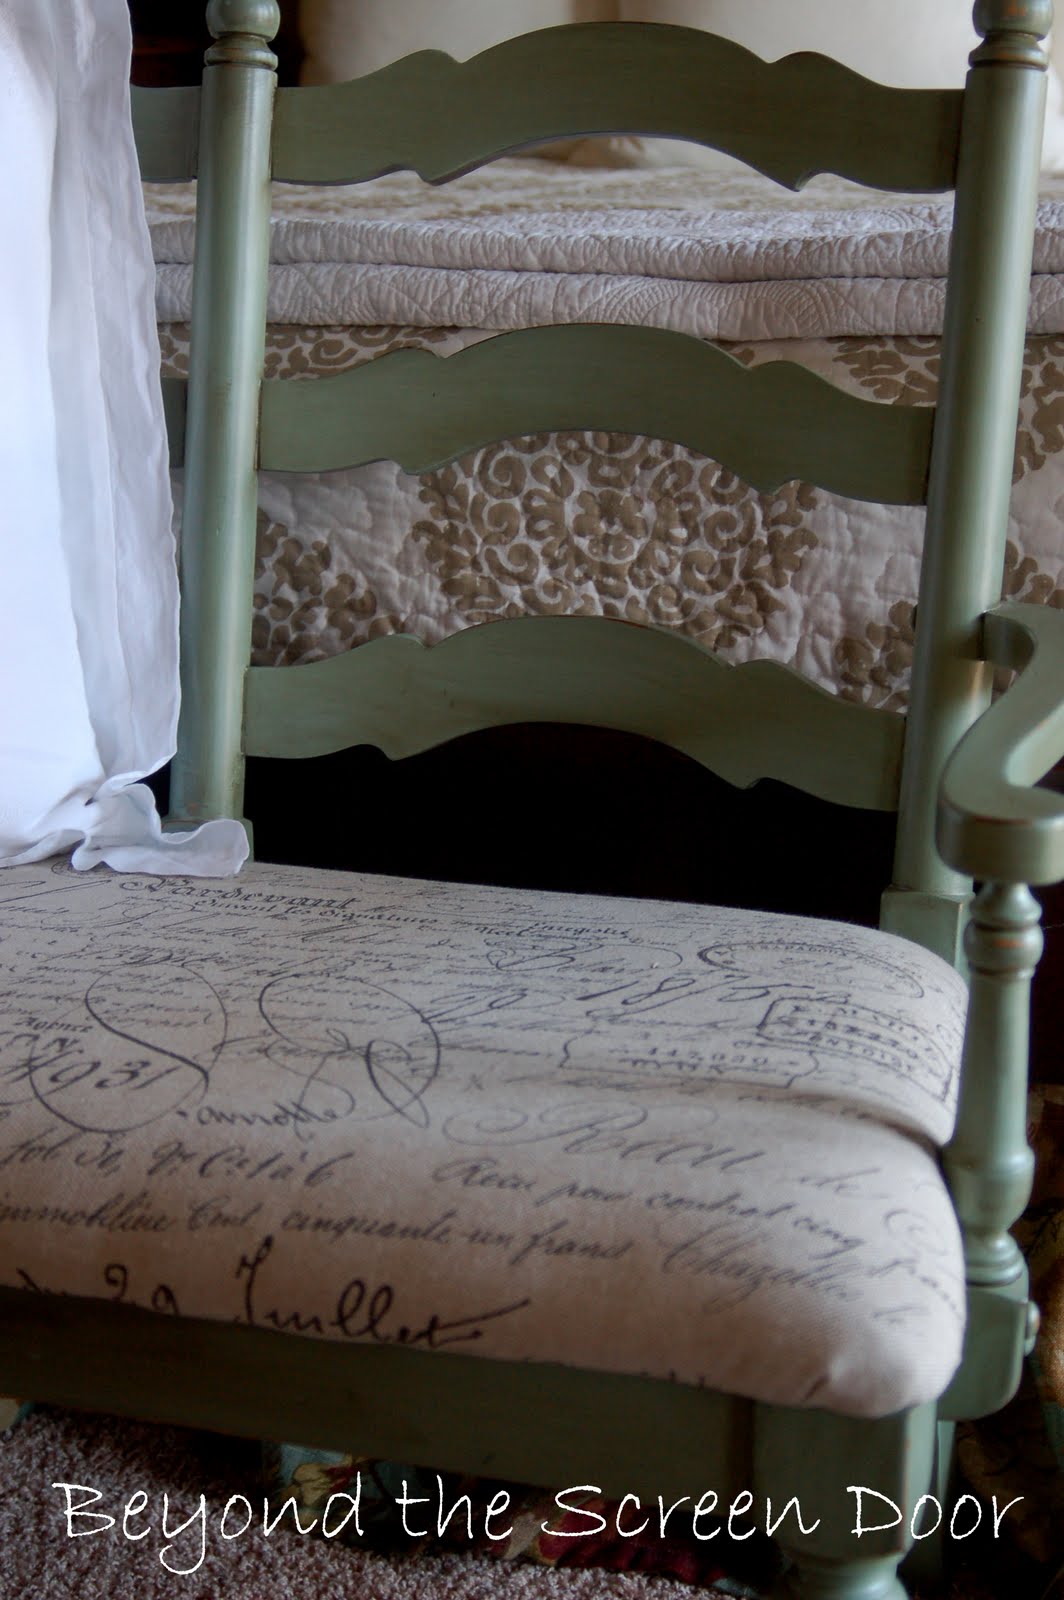
I've recovered the cushion on this bench that sits at the foot of my bed at least 4 times! (Four times that I can remember!)
This bench used to be your typical blond wood tone and several years ago I painted it this robin's eggy, bluish/green color (which I think is Valspar Shaded Cove), distressed and aged it with dark walnut wood stain.
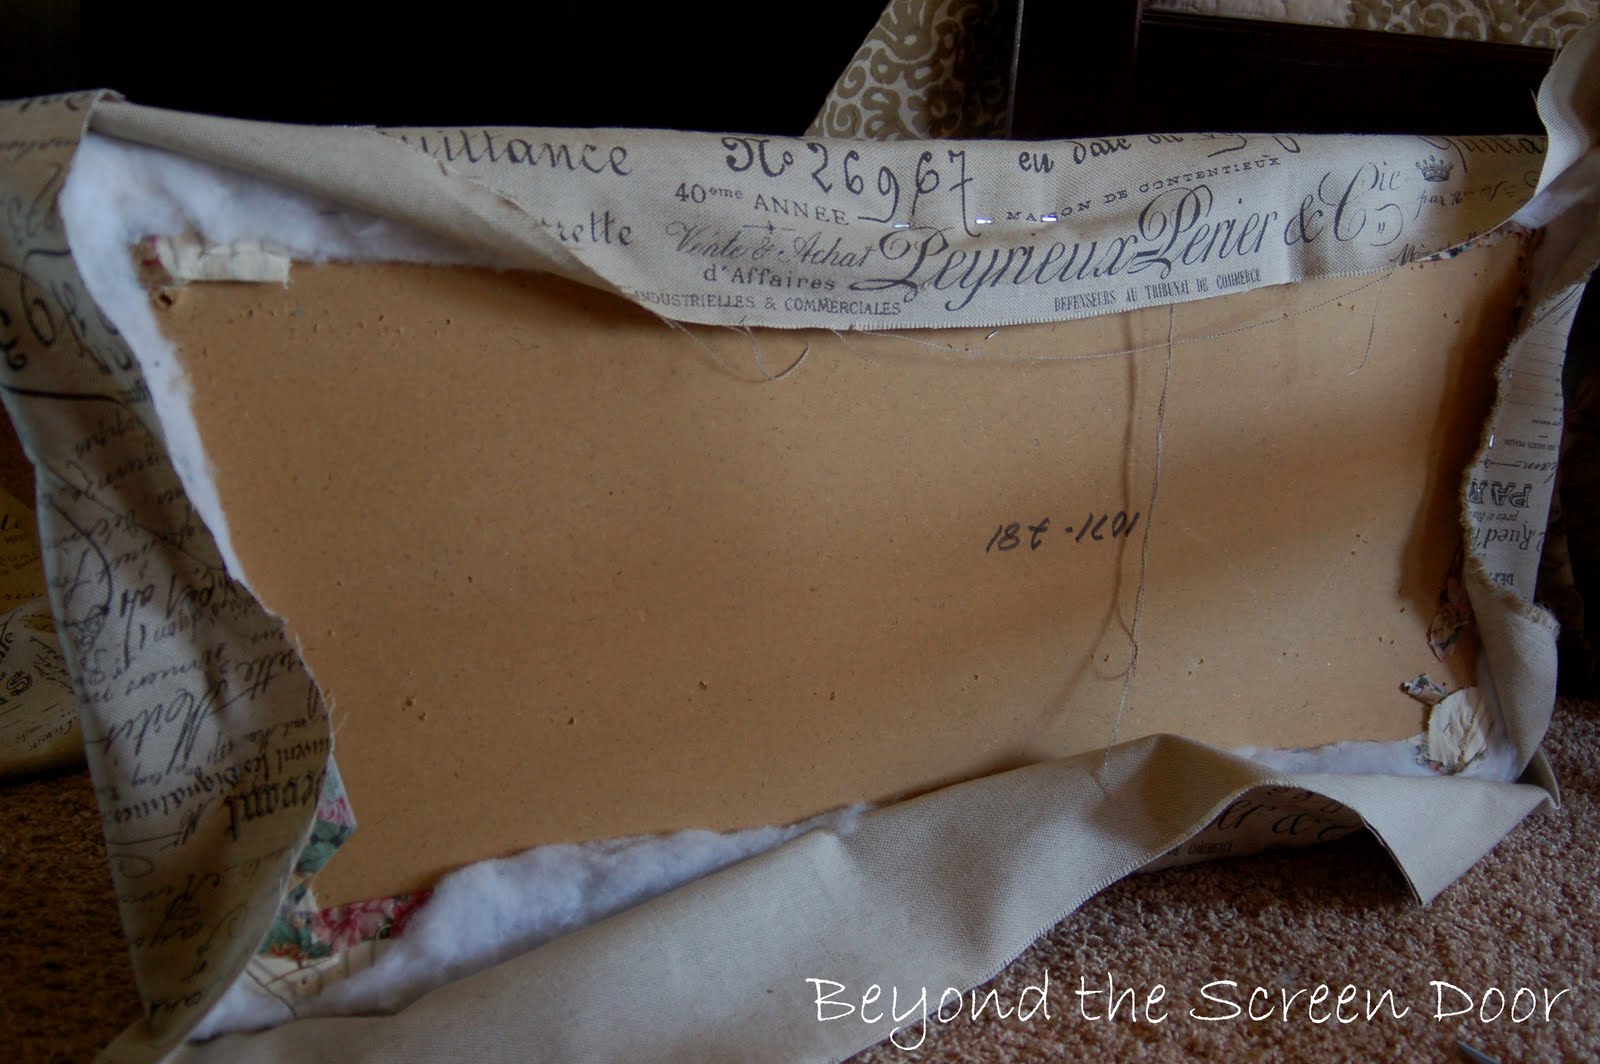
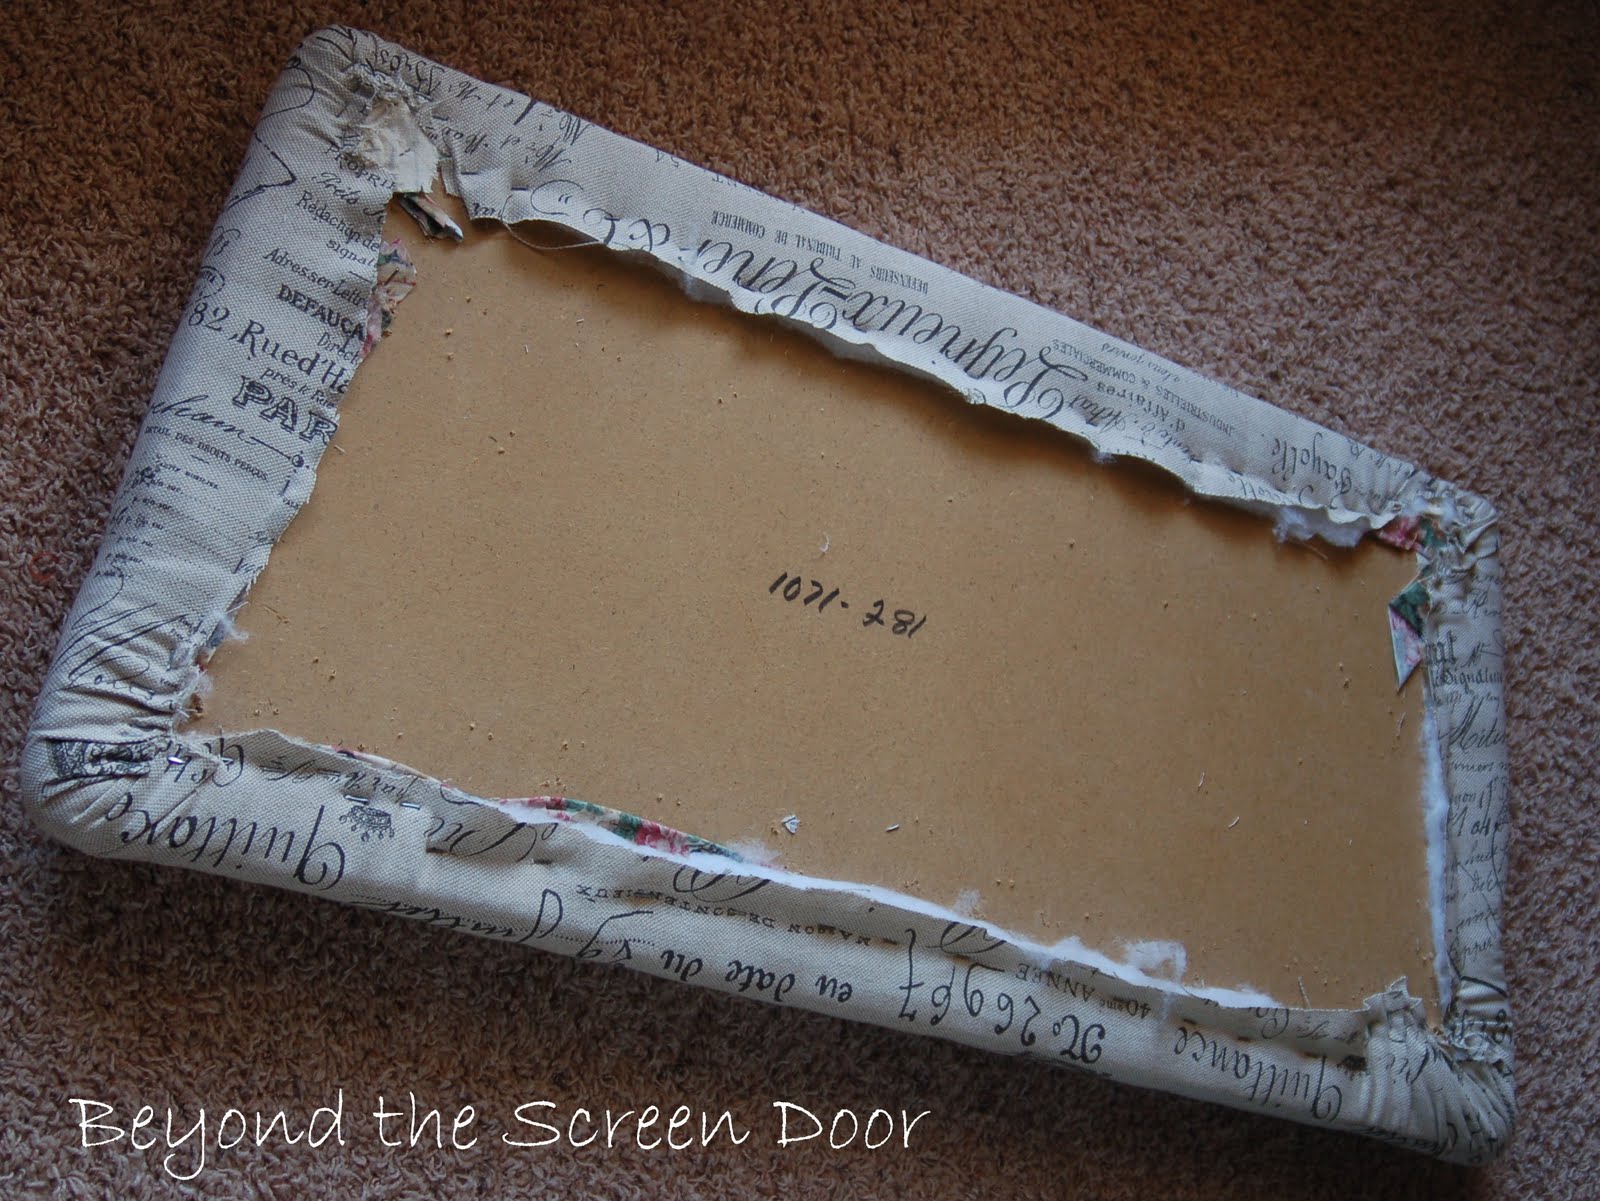
The cushion has been wrapped with cotton batting. I cut my fabric to fit the seat with enough left over to wrap around the underneath side and stapled.
I use a manual staple gun, which I purchased years ago at Wal-mart, and 3/8" staples.
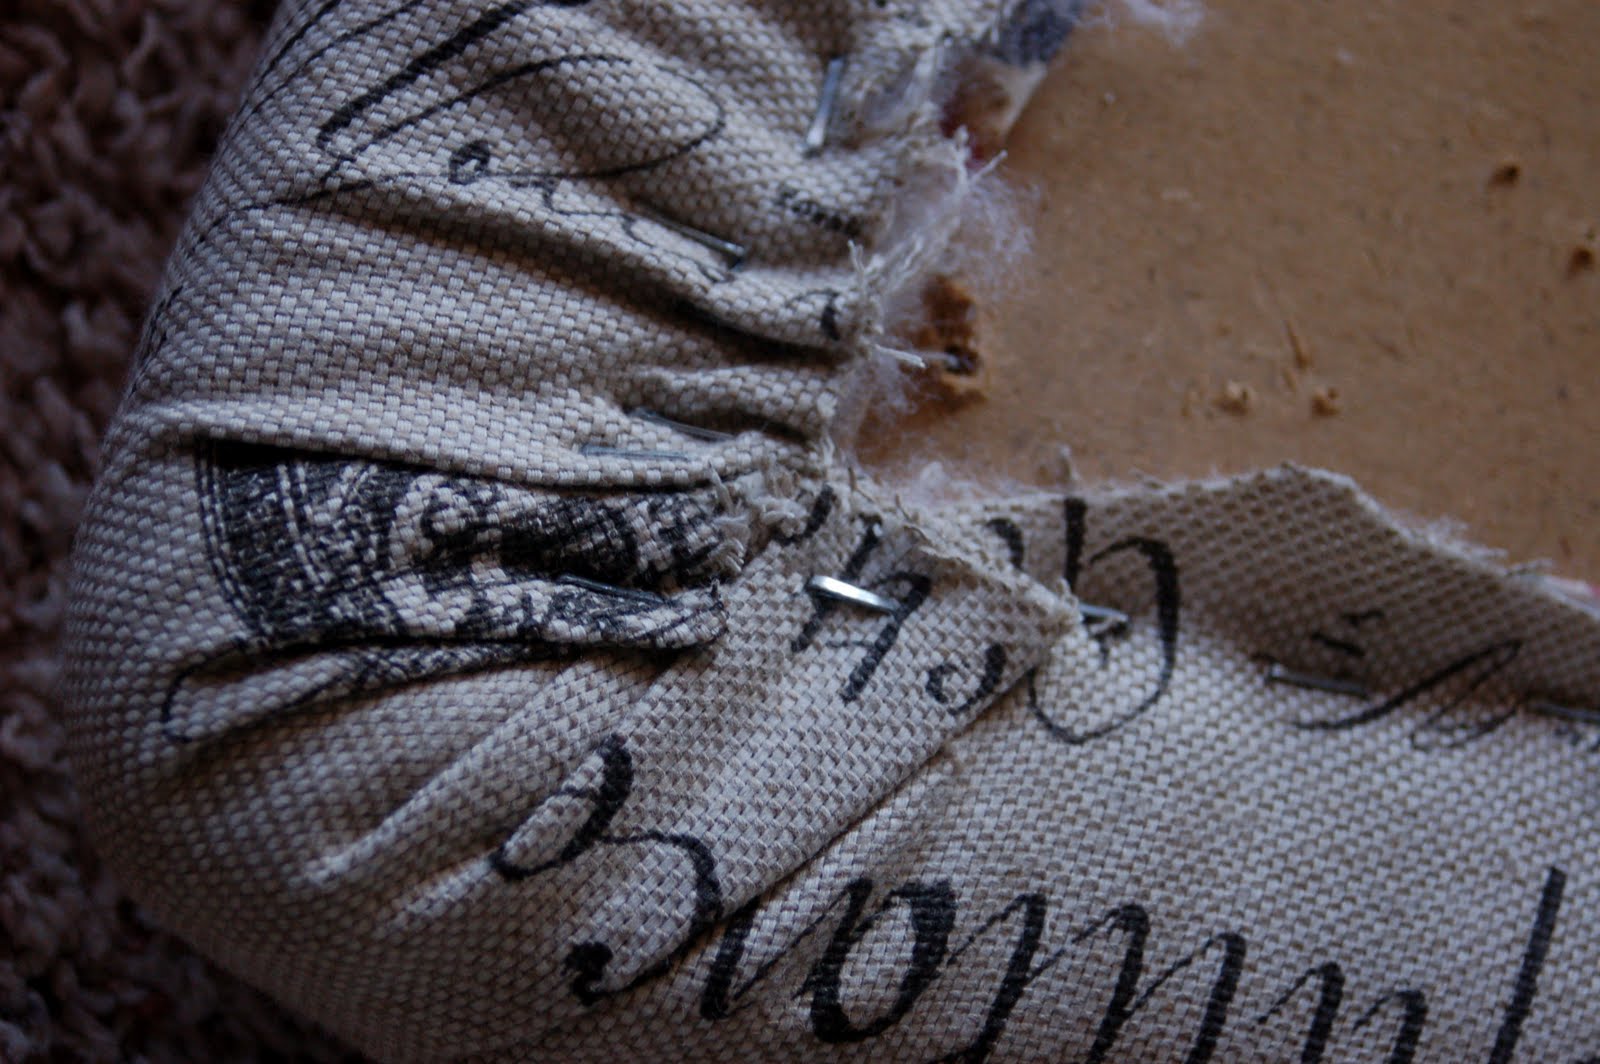
Making sure my pattern was straight I began by stapling in the center of the front and back of the seat, pulling the fabric slightly to ensure it was taut.
Next I stapled the center of each side and continued working around the entire seat.
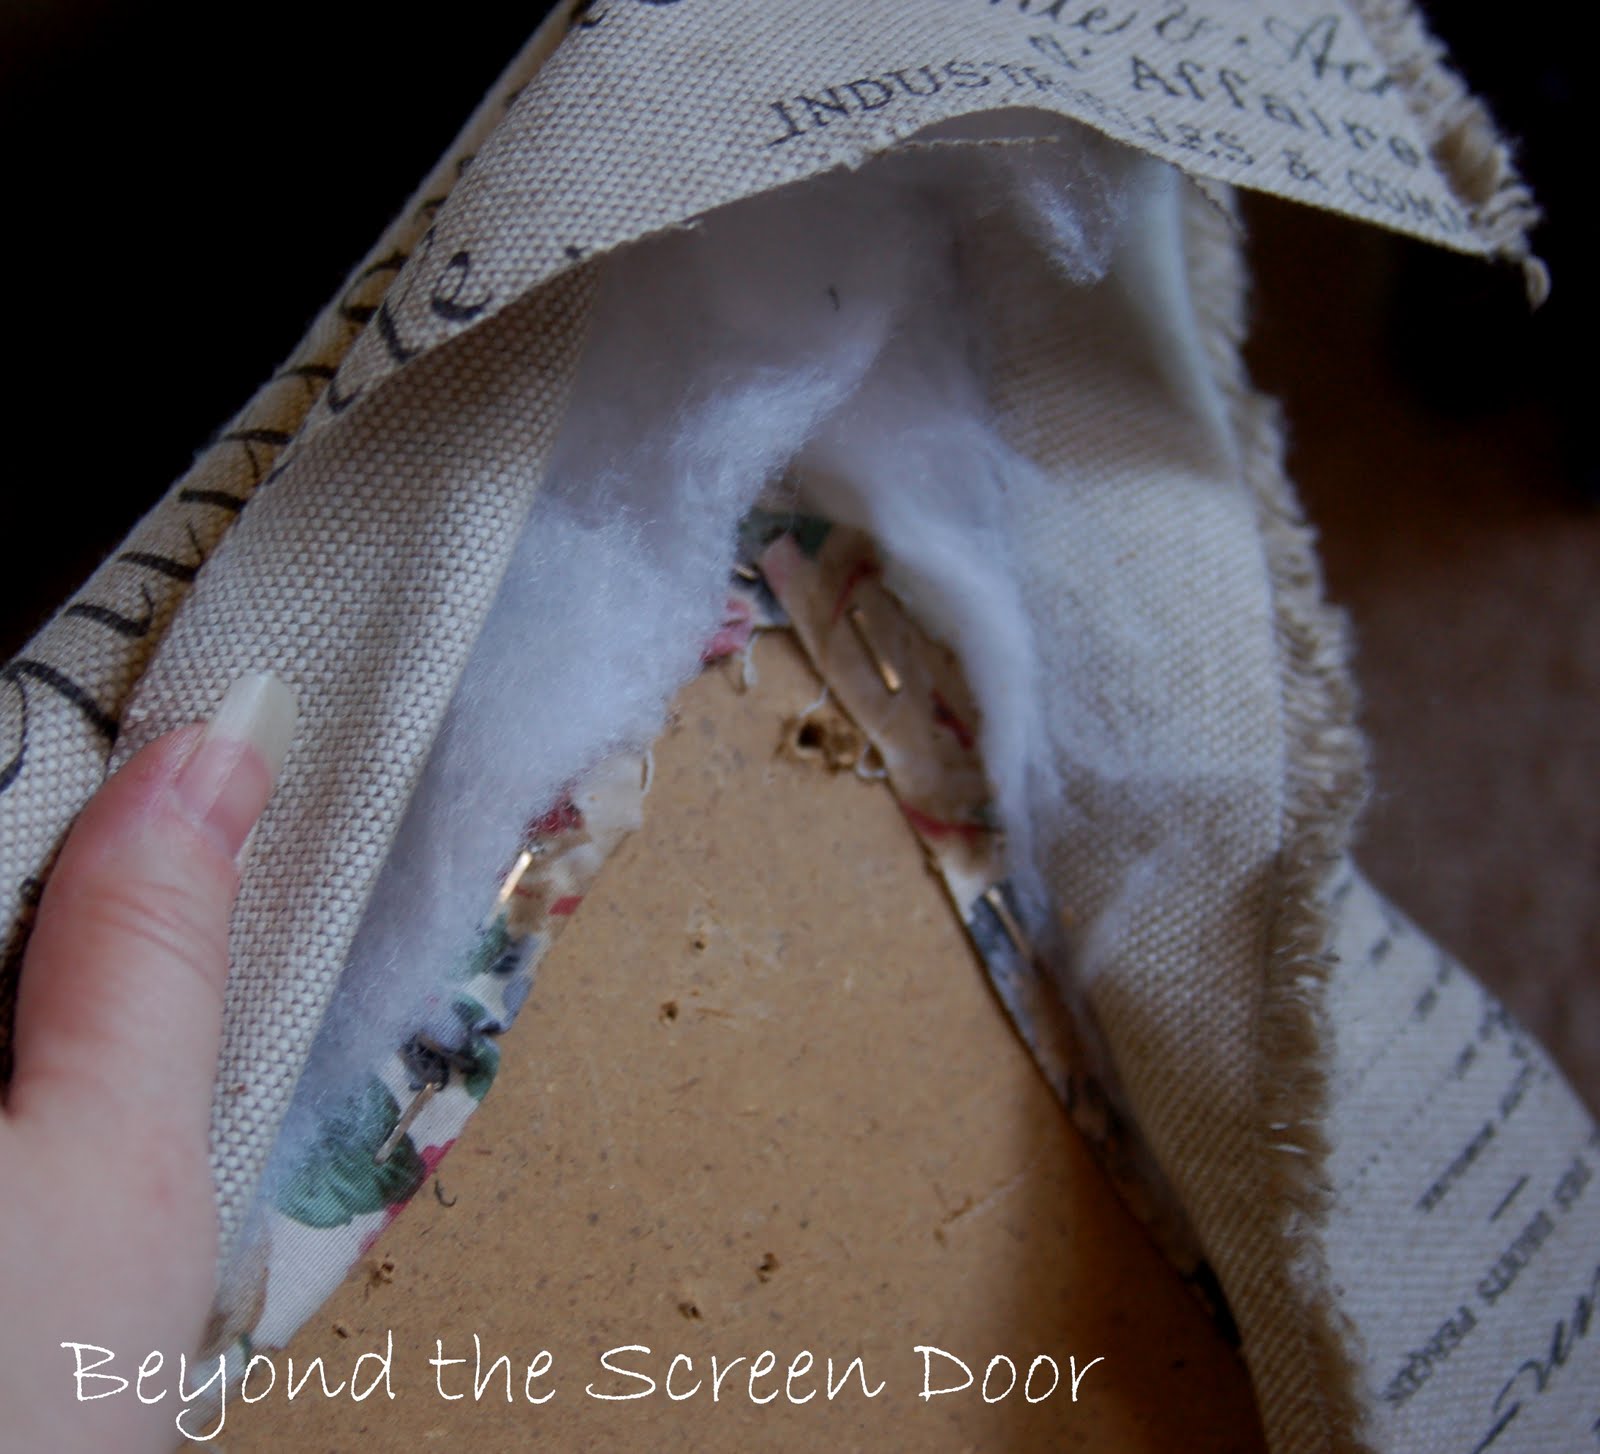
The edges can be a bit tricky. Make sure you leave the area where you screw the seat to the bench uncovered by both batting and fabric. Makes it much easier to reattach to seat to the bench.
Wrap and staple the edges in small sections to maintain a smooth edge.
Here you can see where the screws attach the cushion to the bench. Don't worry about the bottom side being messy! Who's going to see that but you?
I'm in the process of redecorating my master bedroom. Slowly but surely it's coming together. But, it's not there yet. Hence the cropped-in photos of the bench.
See what I mean about how simple this project is. Under an hour start to finish!
I hope this encourages one of you to go ahead and try it! Manual staple guns can run less than $20. Of course, I'd love an electric one but the manual does most any project I can conjure up! They are a great investment!
How many of you have attempted this type of project before? It's really easy, isn't it?
SHARING WITH:


Yes I have. Actually my electric stapler doesn't work that well. I have been looking for parchment fabric, where did you find it? Great tip about the screw holes.
ReplyDeleteI love the fabric. I own 7 staple guns and my plain basic one works the best. My electric one sometimes can't go into some woods of little hi ho silver. Have an awesome week.
ReplyDeleteHI Sonya, I have manual and an electric gun and use them both. A long time ago I splurged on a high end electric gun (almost like a pneumatic gun without using a compressor) and it was nothing but trouble, jamming up and needing repairs. I have used a pneumatic gun and it is fantastic! So if you do this a lot, like cornice boards or those dining room chair seats that are made out of some type of impossible hard board (HATE those) etc, it is very nice. For everything else, manual does the trick.
ReplyDeleteLooks like your bedroom is going to the NEUTRAL zone!! Ha~
LOVE,LOVE,LOVE!! that fabric!!! I would like to know where you got it also! Beautiful job!
ReplyDeleteBeautiful fabric, Sonya! It definitely gives your bench a new look! Besides painting, I think this is one of my favorite ways to change the look in a room. I also use a manual stapler; mine is the one that has the handle facing the opposite way though. It is supposed to be easier on your hands {and is!}. Looking forward to seeing the rest of your makeover! Have a great week!
ReplyDeleteHi Sonja,
ReplyDeleteYour bench is lovely. I love the paint color and I just made note of it for future projects.
I also love the fabric. Is it from Ballards?
I have a bench that I have covered at least six times! LOL!
hugs
Sissie
Love the fabric. A blogger friend made me placemats in the very same. In fact I just put them on my table yesterday and thought, this is great fabric. Looks good Sonya.
ReplyDeleteThat fabric is great! Can't wait to see what you are up to.
ReplyDeleteHi Sonja...I'm intrigued by the coverlet. I'm sure you'll share the source soon, right? Lcve the bench!
ReplyDeleteEllen
Love the fabric and great tutorial Sonya! After many times recovering cushions I finally learned the trick of doing the corners in small sections which makes a huge difference for sure. :-) Can't wait to see the rest of the room!
ReplyDeleteVanessa
Looks fab Sonya! I love the color of your bench and the fabric you chose. I do have to ask how in the world do you get your nails to grow so long!!?? I am always breaking mine or they start peeling.
ReplyDeleteThat does look pretty simple! I've got a little chair that I am thinking about recovering...it's nice to have a place to come and see how I can do that! Thanks!
ReplyDeleteVery pretty. Can't wait to see the rest of it! You might find it hard to believe but David and I actually recovered our dining room chairs many, many years ago. :)
ReplyDeleteHere I was blah, blahing to you in an e-mail and didn't realize you had a new post. ♥ the fabric! Can't wait to see your new room, although, I'll probably be envious!
ReplyDeleteOoh thanks for the TJMaxx tip! Of course you know I'll never find it there, but I will keep checking. Possibly something equally as awesome will turn up....hope, hope!
ReplyDeleteI love your bench where did you find it the I also love the color and the new seat you put on I am so jealous I want one for my room!!!
ReplyDeleteOh Sonya, I'm in love with the 'before' fabric! Don't shoot me... I thought it was the after shot, it was so textural and beautiful... I hope you were able to save it to make into a pillow for another room! Thanks for showing us the technique... I love my Black and Decker Power Shot. I've got one that plugs into my compressor but I'm afraid I've never used it, the Black and Decker is just so much easier to grab and boom, the job is done! Michelle
ReplyDeleteI LOVE the color of the bench!! I also love the new fabric. :)
ReplyDeleteNicely done! The color of the bench and the graphic fabric are a great combination.
ReplyDeleteThanks for the great tutorial, Sonya! Great job on your beautiful bench. That fabric is stunning!! :)
ReplyDeletexoxo laurie
Hi Sonya! Thanks so much for linking up this beautiful transformation to our Inspiration Friday party this week!
ReplyDeleteVanessa
Great fabric! I love it on the green bench. So pretty!
ReplyDeletePam
Very envious of that bench!! Love the fabric and have been looking around for some French script fabric with little luck. LOVE IT!
ReplyDeleteVisting from Funky Junk Interiors. Thanks for sharing!
Jenny
the lavender magnolia
Love the Frenchy fabric and it looks absolutely gorgeous with the bluish-green color of the bench. Beautiful job! Thanks for sharing this easy tutorial. Visiting from Motivated Monday Party. Have a wonderful week!~Poppy
ReplyDeletehttp://withadashofcolor.blogspot.com/
OK, I am such a scardy-cat and have never attempted this. My dining room chairs have some kind of webbing across the bottom and it makes me think that it's a barrier. I just need to get that old screwdriver through the webbing and lift up the seat cushions! You have SO motivated me!!! Thank you for the quickie lesson. My next mission will be to look for some awesome fabric :) thanks ~ diane
ReplyDeleteI love that fabric. I have recovered my dining room chairs a few times. Probably need to do it again soon, because I am over the fabric now.
ReplyDeleteLove the new fabric and I love my electric gun which I will be using this week. Thanks for joining the party.
ReplyDeleteI love the french inspired fabric! This is a great piece! Thanks for sharing this!
ReplyDeleteSoya, Two thumbs up for this project. Your bench has a stylish new life! It is just beautiful!
ReplyDeleteI am so tickled that your directions are easy to understand and you have very good pictures. I have 2 chairs and a bench to recover and your directions will help so much!
Great tutorial!
Yvonne
Sonya,
ReplyDeleteI think blogger ate my last comment. Thank you so much for this great tutorial! I have a few pieces to recover and this is a great help.
Two thumbs up. YOu have your bench a stylish new life!
Yvonne
Really, really pretty! Thank you so much for sharing about the staple gun. I didn't realize the manuals could be this inexpensive. Do you mind sharing where you found the fabric? I have a footstool I'd like to recover and you've provided the inspiration! At least I think I can do a small project ~ :-)
ReplyDeletexo
Pat
Wow, you have a lot of Pam's commenting. :) I think I need to change up my name. Hehe. Anyway, love the fabric you chose for this. Perfection. Thanks for taking the time to link it up to Motivated Monday at BeColorful. I know the readers enjoyed it.
ReplyDeletePam. Pamela? Ela? :)
Pam at BeColorful